Enable Apache SSL Xubuntu 16.04 Xenial LTS
Hi! The Tutorial shows you Step-by-Step How to Enable Apache SSL in Xubuntu 16.04 Xenial LTS GNU/Linux.
And the Xubuntu 16.04 Apache SSL Enabling Procedure Described here is the Easiest one to Quick Start with Apache SSl on a Development Environment.
Finally, inside the Guide you find also instructions on How to Generate a Valid SSL Signed Certificate for FREE on Xubuntu.

-
Open a Terminal Shell emulator window
Ctrl+Alt+t on desktop
(Press “Enter” to Execute Commands)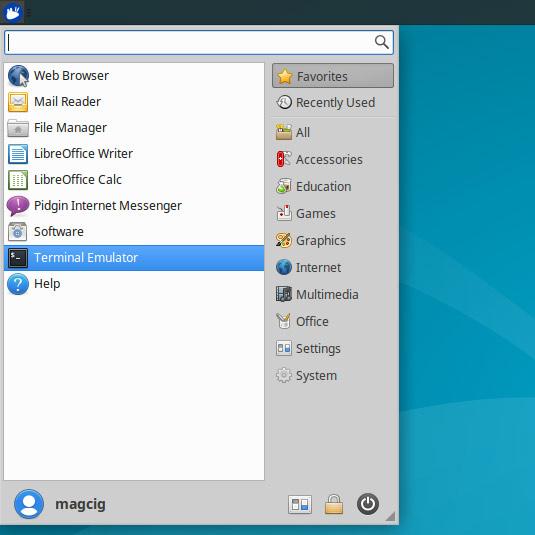
In case first see: Terminal QuickStart Guide.
-
Enabling Apache SSL.
sudo a2enmod ssl
sudo a2ensite default-ssl
sudo service apache2 reload
-
Review the Apache Default SSL Configuration for localhost.
cat /etc/apache2/sites-available/default-ssl.conf
How to Generate a Free SSL Signed Certificate
-
After you can Test Access the Domain over SSL.
For a Server (Example):
https://100.101.102.103
For a Desktop:
https://localhost