Install Canon Scanner Red Hat Linux 7
Hi! The Tutorial shows you Step-by-Step How to Install Epson Scanner Driver and Get Started Scanning in Red Hat Linux 7 GNU/Linux Desktops.
And to Install Red Hat Linux 7 Canon Scanner it’s enough to Download and Install the Canon Scanner Driver in Red Hat Linux.
Finally, Included in the CentOS Canon Scanner Installation Tutorial you will find also Link to Guide for Quick Start with Canon Scanning on Red Hat Linux.

-
Open a Shell Terminal emulator window
In case first see: Terminal QuickStart Guide.
-
Download Canon Printer/Scanner Red Hat Linux Drivers
Search for “linux [myCanonModNumRounded]”
You may need to Round Down the Printer Model Number as here below…
Eg: for ‘mx472’ search for “linux mx470”
And for ‘MG2240’ search for “linux MG2200” -
Confirm to Open with Archive Manager on Browser
Or after Double-Click/Right-Click on Scanner Driver
(When Downloaded with Firefox may be located in /tmp/mozilla* Dir)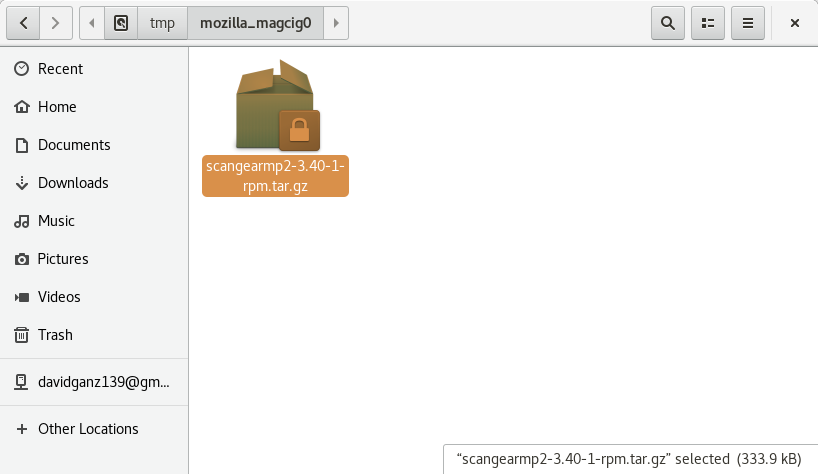
-
Extract into the /tmp Directory.

-
Installing Canon Scanner Driver
Access the Target location:cd /tmp/scangearmp-*-rpm
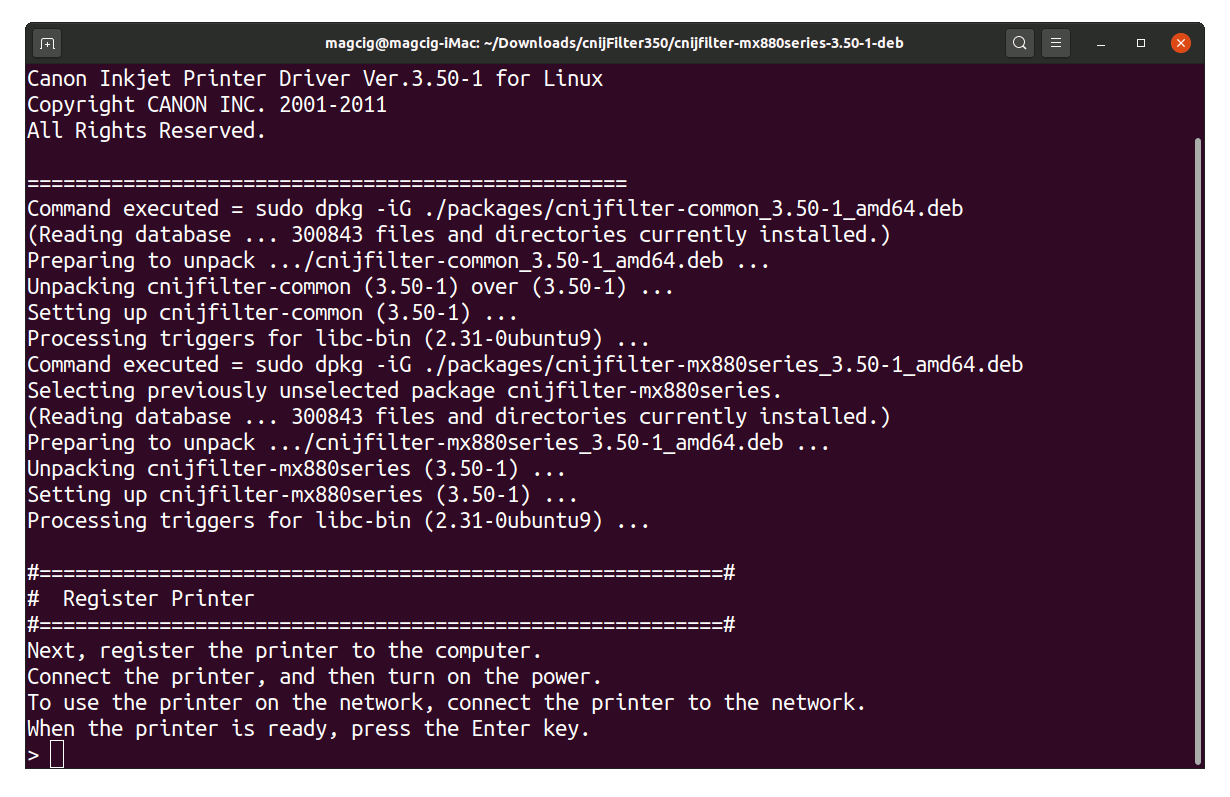
Run the Installation script:
sudo ./install.sh
During installation you may be Asked to Connect & Power On your Printer…
Now in case of Issue then try first to execute:cd /tmp/scangear*/packages
sudo su -c "yum install ./*.rpm"
-
How to Get Started with Canon Scanning on Red Hat Linux
