Installing Oracle 12c R2 Database on CentOS 7 GNU/Linux
Hi! The Tutorial shows you Step-by-Step How to Install Oracle 12c R2 Database for CentOS 7.x x8664 GNU/Linux Desktop/Server.
This also the Easiest Way to Step Into a Fully Functional Oracle 12c R2 Database Linux Cloud Computing Installation Infrastructure.
A Quick and Dirty Guide to Jump Start on Oracle 12c R2 Database for the Impatiens, because after all after you will have always the Time to Refine and Adjust the SetUp Following Oracle Best Practices…
The Only Hard Requirements to Take Into Account Before Installation are to Dispose At Least Of:
- 1 Gb of RAM
- 6 Gb of Drive Space
First, Step is to Enable the Oracle Repo and Install the Pre-Install RPM Package Need for the Proper Oracle 12c R2 Database Installation.
The Tutorial Include All the Essentials Screenshots Helping in Visualizing the Oracle 12c R2 Database Installation CentOS 7.
With more than 500 new features, Oracle Database 12c is designed to give Oracle customers exactly what they need for Cloud Computing, Big Data, Security, and Availability.
-
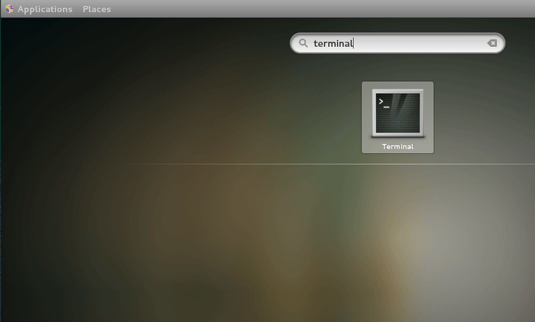
Open a Shell Session or Terminal Emulator Window
(Press “Enter” to Execute Commands)
In case first see: Terminal QuickStart Guide.
-
How to Install Oracle Pre-Install RPM for CentOS 7.X
Installing Oracle Pre-Install RPM
-
Double-Click or Right-Click on Archive and Extract into /tmp

Or From Command Line:
unzip -d /tmp linuxamd64_12c_database*.zip
-
Set DB Directory Permissions
chown -R oracle:oinstall /tmp/database
-
Login as “oracle” User
su oracle
-
Run the Installation Script
chmod -R +x /tmp/database
/tmp/database/runInstaller
If Got Display Not Set or For Any Issue Encountered Look
Oracle 12c DB Troubleshooting
-
Then Simply Follow the Installation WorkFlow.
If you Do Not Dispose of a Subcription Uncheck Security Updates and leave Blank Support Password and Pursue!
Then Choose “Install Software Only”!
On “Installation Options” Choose if a “Single Instance” like here or instead a “Cluster”.
Then Choose the “Enterprise Edition”
Select the Installation Location.
Again for the OraInventory.
Next Confirm the Installation Groups.
Review the “Summary” and Possibly take a Copy.
Finally, Click on “Install” to Start Installation Process
Then Run the Configuration Scripts for Oracle 12c R2 Database.
sudo su
/u01/app/oraInventory/orainstRoot.sh
/u01/app/oracle/product/12/dbhome_1/root.sh
exit
And Finally, the Installation Should be Achieved Successfully!
-
How to Create and Start the Oracle 12c R2 Database
Oracle 12c Create Database
So Now Thanks to the Oracle Corporation you Should Finally, Fully Dispose of a Oracle 12c R2 Database Installation CentOS Linux ;)