Install Canon MAXIFY Driver Fedora 27
Hi! The Tutorial shows you Step-by-Step How to Install Canon MAXIFY Printer in Fedora 27 GNU/Linux Desktops.
And the Fedora 27 Canon MAXIFY Driver Installation It’s quick and easy because it only involves running a few Basic Shell Commands.
Finally, included in this Tutorial you’ll find also Link to Guide for Get Started with Canon Scanning on GNU/Linux Desktops.

-
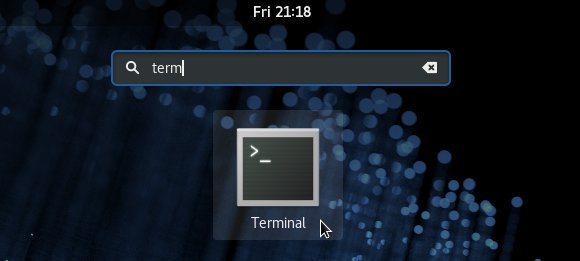
Open a Shell Session
(Press “Enter” to Execute Commands)
In case first see: Terminal QuickStart Guide.
-
Download Canon MAXIFY Printers Linux Drivers
If you Cannot Find then Choose a Model on the Same Series
Eg: MB2155, MB2140 and All the MB21XY belong to the Same Series Printer! -
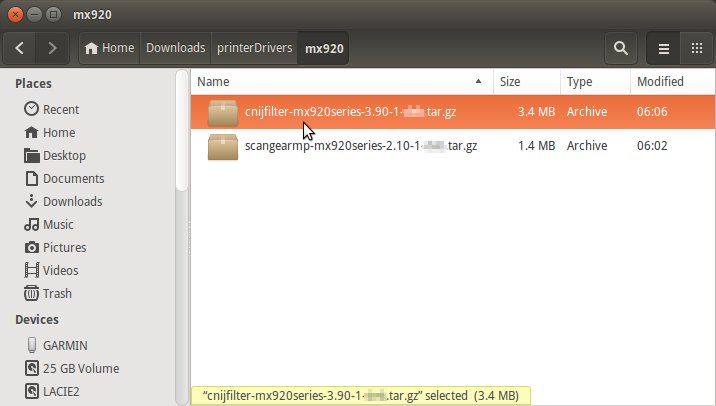
Possibly Double-Click on Printer Driver on the File Manager:

-
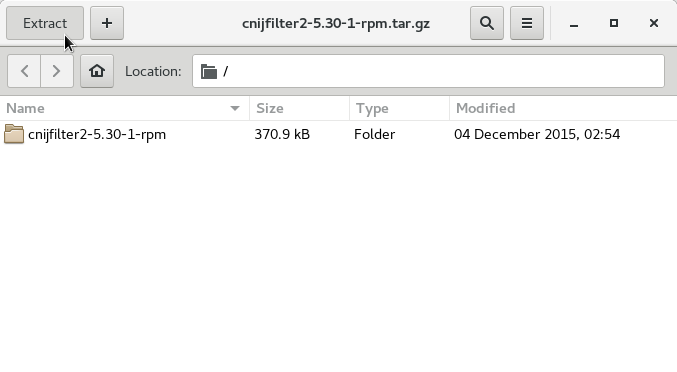
Extract into the /tmp Directory.

-
Install Canon Printer Driver
cd /tmp/cnijfilter*
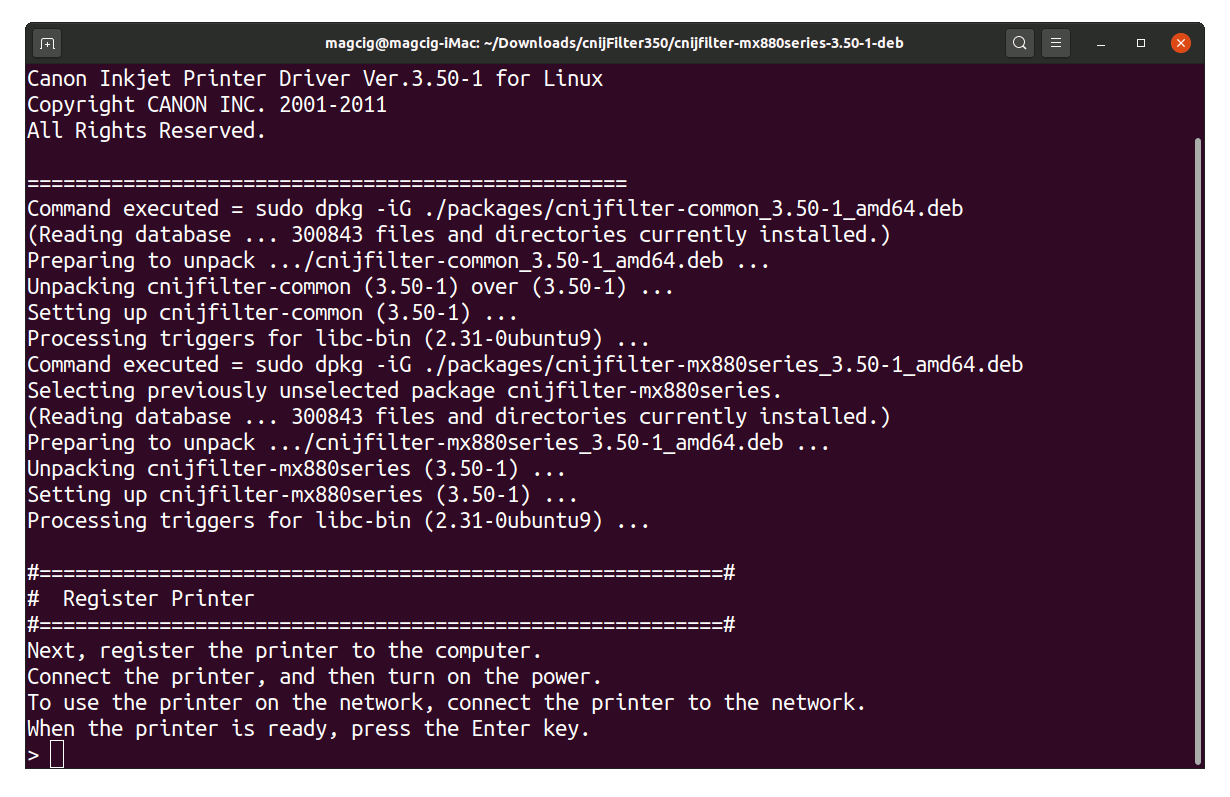
sudo ./install.sh
During installation you may be Asked to Connect & Power On your Printer…

Now in case of Issue then try first to execute:cd /tmp/cnijfilter*rpm/packages
And on a 64-bit System play:
sudo yum install ./*64.rpm
-
How to Get Started with Canon Scanning on GNU/Linux Desktops
