CLion Lubuntu 17.10 Installation Guide
Hi! The Tutorial shows you Step-by-Step How to Install CLion IDE on Lubuntu 17.10 Artful 64-bit GNU/Linux.
And CLion for Lubuntu 17.10 thanks to native C and C++ support, including modern C++ standards, libc++ and Boost, knows your code through and through and takes care of the routine while you focus on the important things.
Moreover, CLion is more than just an editor as it offers intelligent CMake support, a powerful debugger to investigate and solve problems with ease, built-in Google Test and Catch for unit testing, many popular VCS supported out of the box and more.
Again, CLion is designed for native cross-platform development in C and C++, as well as Kotlin/Native, Rust and Swift.
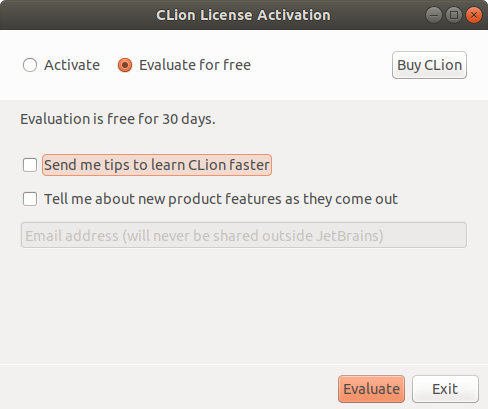
Especially relevant: CLion IDE it’s Not Free but you’ll dispose of a 30 Day Trial period for Evaluation.
As well the Only Requirement for CLion Installation is a GCC/C++ or CLang Compiler Setup on System.
Finally, here it’s described a CLion System-Wide Setup, for a Local one simply Decompress the Archive and Run from the Home folder.

-
1. Launching Shell Emulator
Open a Terminal window
Ctrl+Alt+t on Desktop
(Press “Enter” to Execute Commands)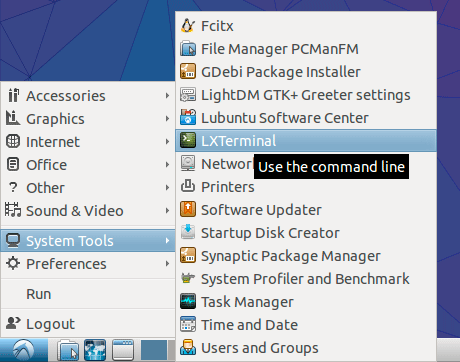
-
2. Downloading CLion for Lubuntu
Download CLion for Lubuntu GNU/Linux
If possible Select directly “Open with Archive Manager”!
-
3. Extracting CLion IDE
Then Extract CLion into /tmp
Possibly Double-Click on Archive: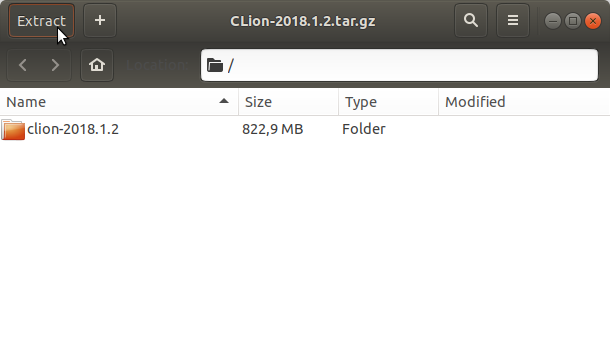
Or from Shell:
tar xvzf ~/Downloads/CLion*.tar.gz -C /tmp
-
4. Fixing Permissions
Again to Set Ownership to SuperUser:
sudo chown -R root:root /tmp/CLion*
-
5. Relocating CLion IDE
Again to Set Ownership to SuperUser:
sudo mv /tmp/clion* /opt/clion
-
6. Amending User’s Path
Again Append CLion into the Path (Optional)
This is strictly needed only to Work with CLion from Command Line:echo 'export PATH=$PATH:/opt/clion/bin' >> ~/.bashrc
Reload the Path with:
bash
-
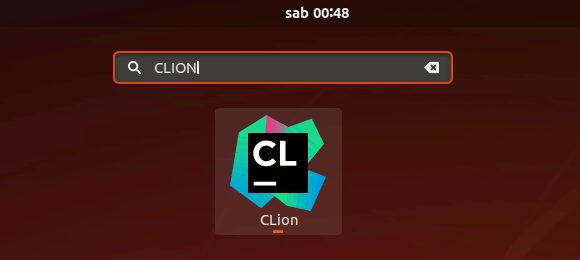
7. Running CLion IDE
Finally, Run & Enjoy CLion IDE
First, Launch it from Shell with:clion.sh
With this also a Desktop Launcher it’s Automatically Created.
Then you can Choose the Licensing Option:
-
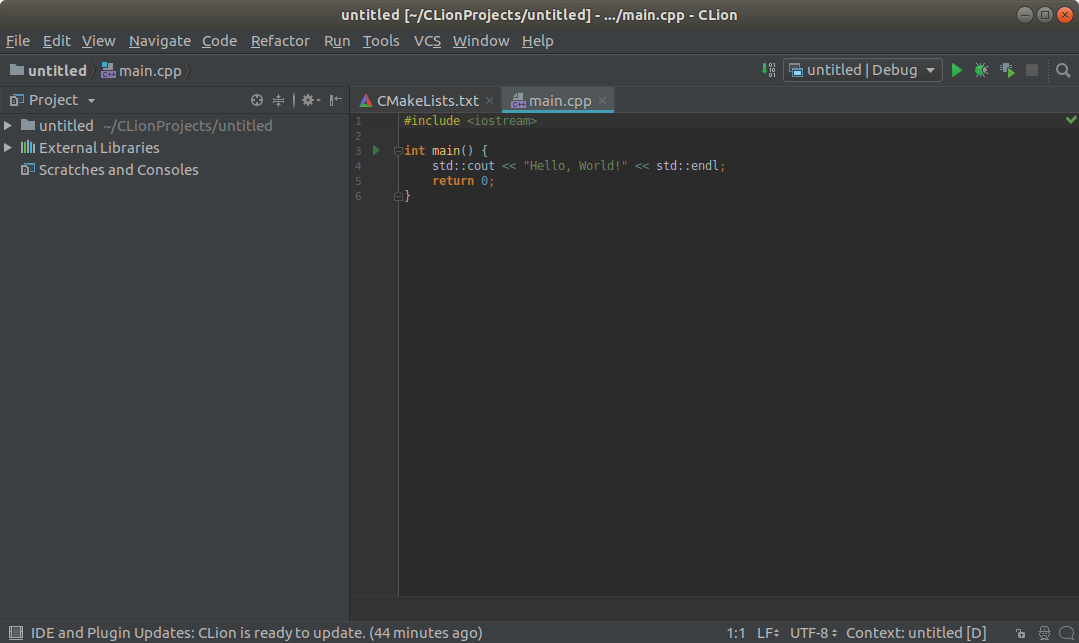
8. CLion Getting-Started Guide
Getting-Started with CLion for Lubuntu GNU/Linux
So Now I’m truly Happy if My Guide could Help you to Install CLion on Lubuntu 17.10 Artful!
