Install ICQ Kubuntu 18.04
Hi! The Tutorial shows you Step-by-Step How to Install ICQ on Kubuntu 18.04 Bionic LTS GNU/Linux.
And ICQ for Kubuntu Bionic is a Free Messenger with which you can also Make high-quality Video Chat and make low-cost Phone Calls to any country.
Finally, for your Comfort this Guide is Split into several Pages to make it Easier to View and Follow every single Step involved.

1. Launch a Shell Emulator
-
Open a Terminal Shell emulator window
(Press “Enter” to Execute Commands)
2. Grab ICQ Messenger for Linux
-
Download ICQ Messenger for Kubuntu Linux
If possible Select directly “Open with Archive Manager”!
3. Expand ICQ Archive
-
Then Extract into /tmp Directory
If it does Not Open automatically then Double-Click on File Manager: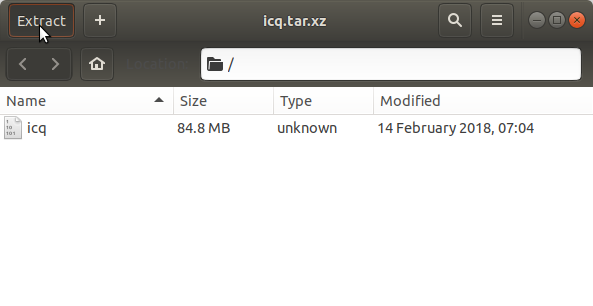
Or from Command Line:tar xvzf ~/Downloads/icq*.tar.xz -C /tmp/
4. Fix ICQ App Permissions
-
Next Set the SuperUser as Owner
With:sudo chown -R root:root /tmp/icq
