Install Meteo QT Ubuntu 18.04 Bionic
Hi! The Tutorial shows you Step-by-Step How to Install Meteo QT on Ubuntu 18.04 Bionic LTS GNU/Linux Desktop.
Then with the Meteo QT Ubuntu 18.04 Installation you Don’t Need any more to Check the Meteo Forecasts on Browser!
Moreover, Meteo-qt is a Python 3 and Qt 5-based application for Linux desktops that displays weather information in desktop panels and desktop notifications, and a 6-day weather forecast in its own window.
Especially relevant: to get Installed the Meteo QT Applet on Ubuntu Bionic we make Use of the GetDeb Packages Repositories.
Finally, it gets Weather information from OpenWeatherMap and is licensed under the GNU General Public License version 3 (GPLv3).

-
1. Launching Shell Emulator
Open a Terminal window
Ctrl+Alt+t on Desktop
(Press “Enter” to Execute Commands)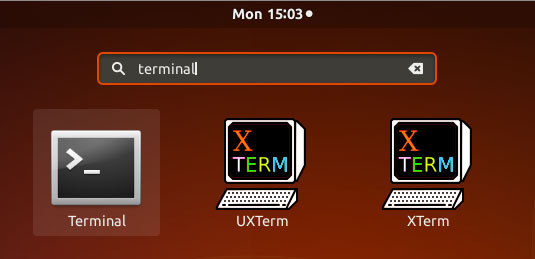
-
2. Enabling GetDeb Repository
Add GetDeb Repo for Ubuntu GNU/Linux
-
3. Installing Meteo QT
Then to Install Meteo QT for Ubuntu
sudo apt install meteo
-
4. Setting Up Meteo
Meteo Qt Visual Configuration on Ubuntu GNU/Linux
Thanks to Dimitrios Glentadakis for the Development of this Useful Applet!
So Now I’m truly Happy if My Guide could Help you to !