VMware Workstation 14 Pro on Ubuntu Installation Guide
Hi! The Tutorial shows you Step-by-Step How to Install VMware Workstation 14 Pro on Ubuntu 18.04 Bionic LTS 64-bit Desktop.
And this guide includes the Detailed Commands & Instructions on Ubuntu 18.04 Bionic VMware Workstation Pro 14 Installation.
Moreover, VMware Workstation Pro 14 continues VMware’s tradition of delivering leading edge features and performance.
With support for the latest version of Windows and Linux, the latest Processors and Hardware, and the ability to connect to VMware vSphere and vCloud Air.

-
Open a Terminal Shell emulator window
Ctrl+Alt+t on Desktop
(Press “Enter” to Execute Commands)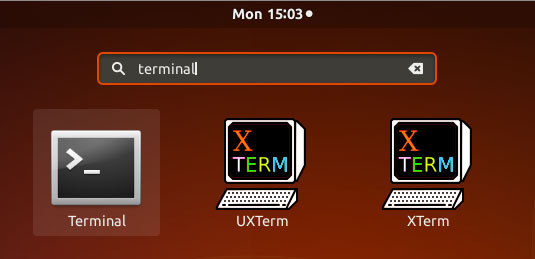
-
Then Install the Required Packages
sudo apt install gcc build-essential libaio1
Enter your Admin Pass to Execute the Command.
If Got “User is Not in Sudoers file” then see: How to Enable sudo -
Download VMware Workstation Pro 14 (30 Days Trial)
-
So now Run VMware-Workstation Bundle
Access the VMware Workstation Bundle Location:cd $HOME/Downloads
Give Execution Permissions:
chmod +x ./VMware-Workstation*14*.bundle
Then Run the VMware Workstation Bundle:
sudo ./VMware-Workstation*14*.bundle
If the Graphical Installer do Not Launch then type ‘q’ to Accept License and Follow CLI Wizard.
-
And Follow the VMware Workstation Pro 14 WorkFlow
Accept the Licenses: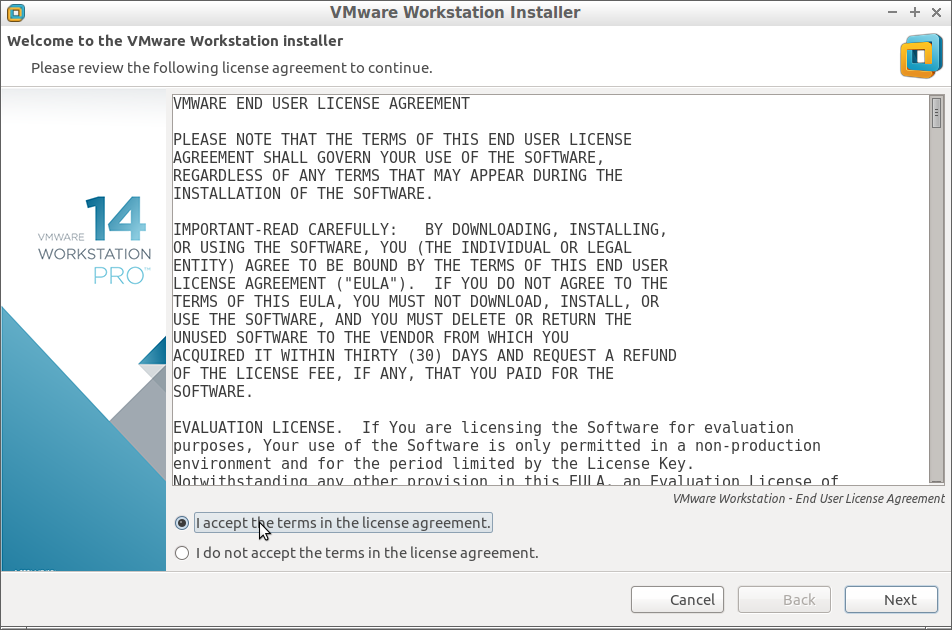
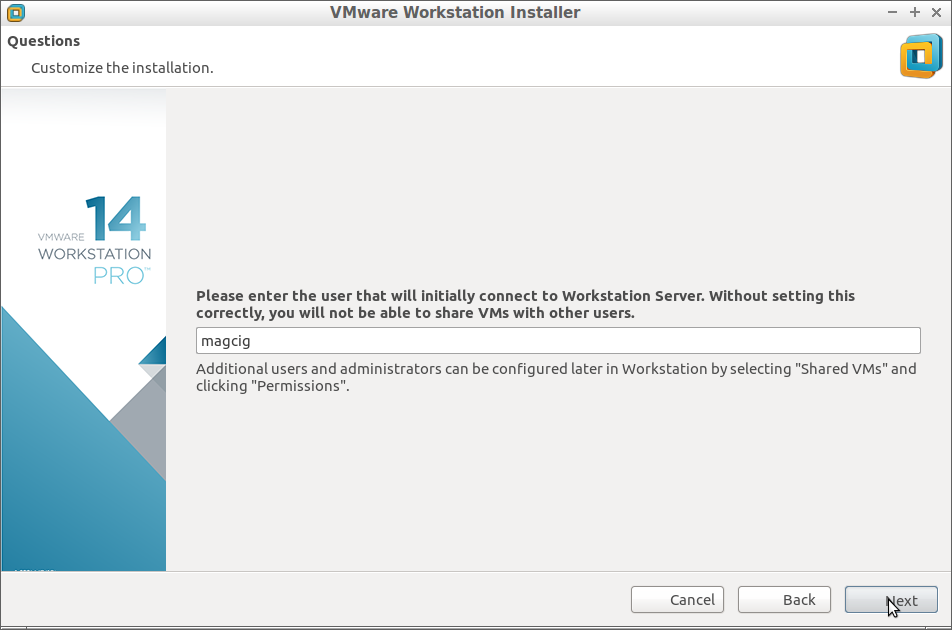
Next Set your User’s name:
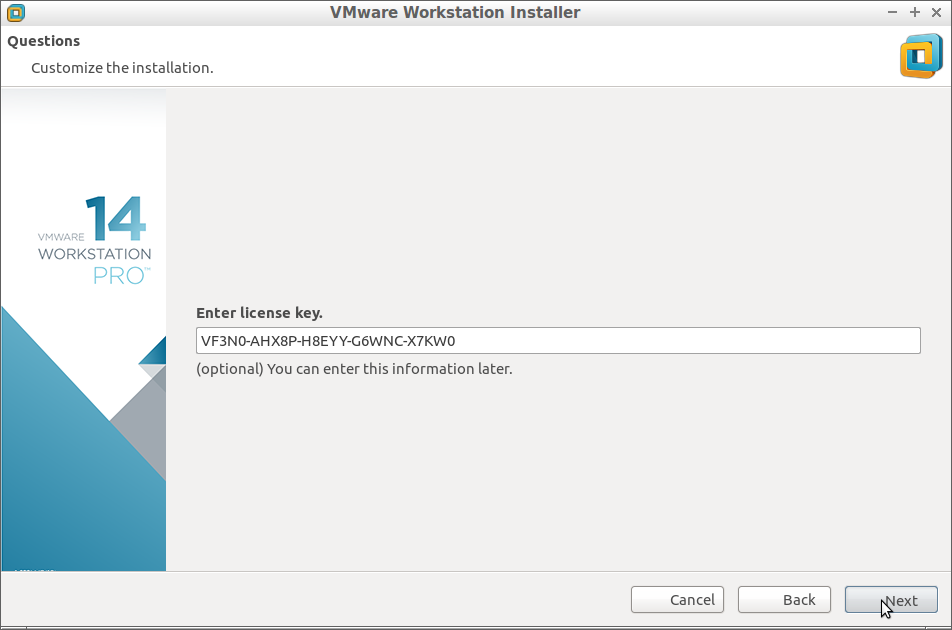
Possibly Insert the License Key if Already have One:
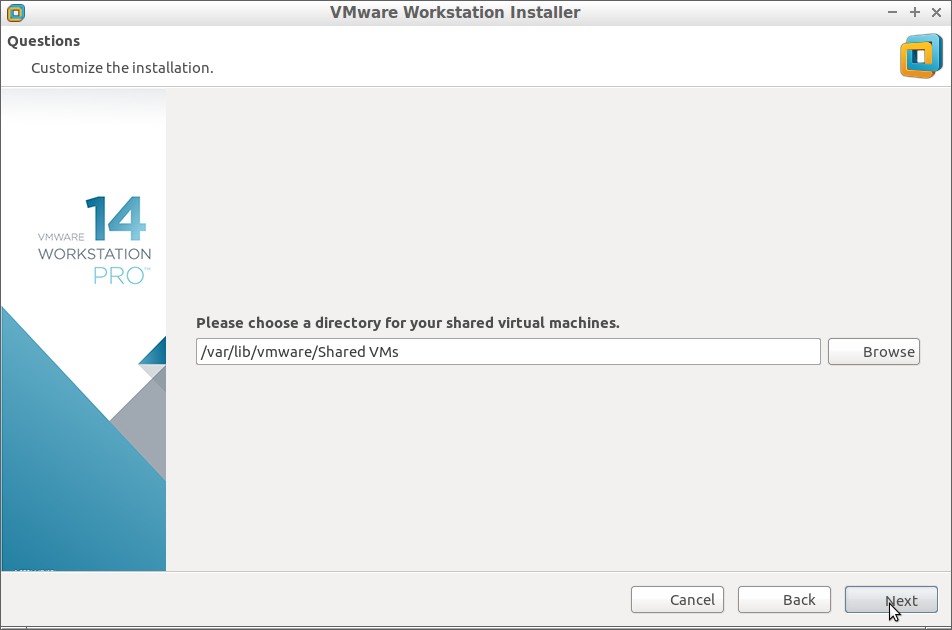
Choose the Shareds VMw Directory:
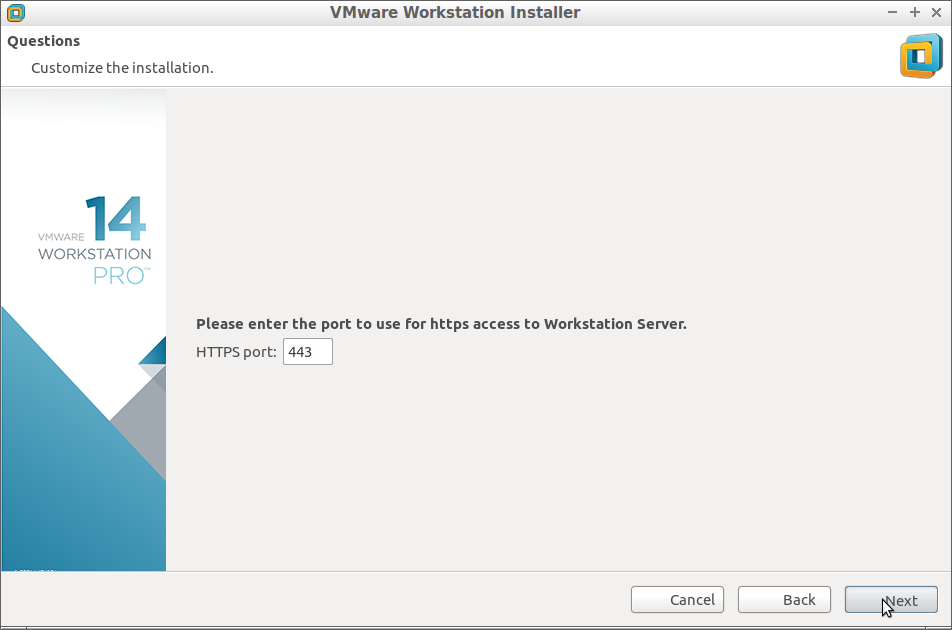
Set the Https Port (Default 443 should be just good):
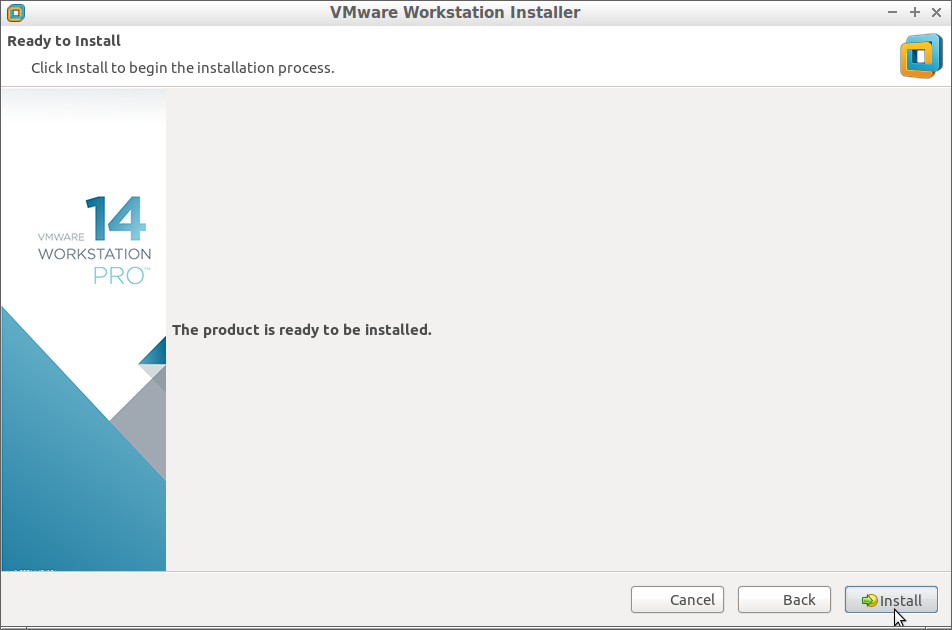
Then Start Installation:
-
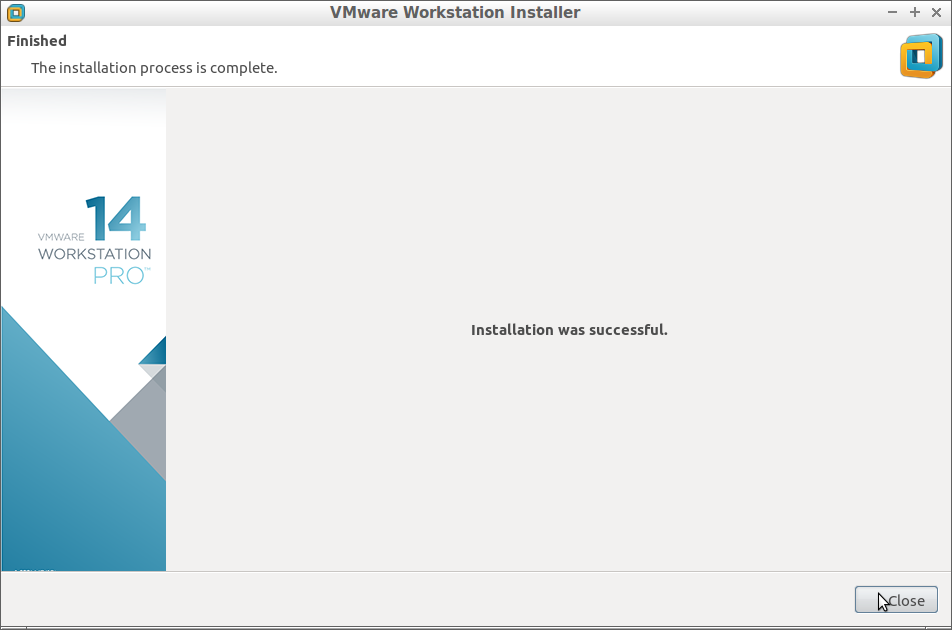
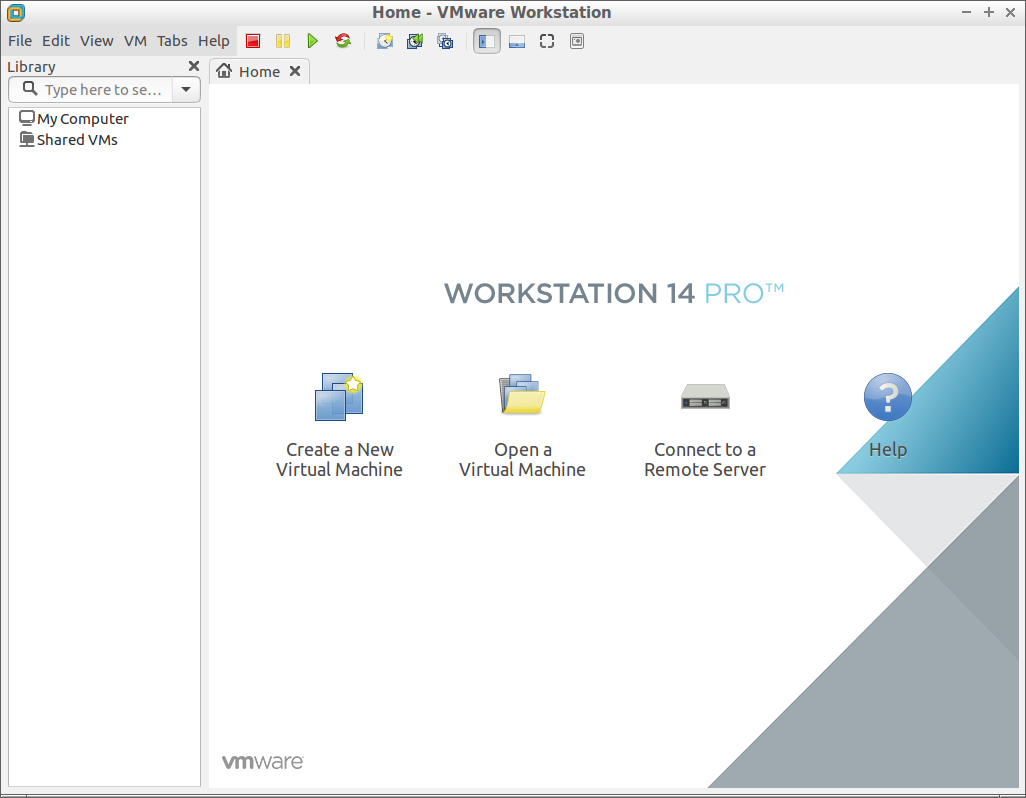
Finally, Enjoy VMware Workstation Pro 14 on Ubuntu ;)
-
How to Install VMware-Tools on VMware Workstation Guests:
How to Install Google-Chrome Web Browser on Ubuntu
Installing Google-Chrome Web Browser on Ubuntu.
