Upgrading Xubuntu to 18.04
Hi! The Tutorial shows you Step-by-Step How to Upgrade Xubuntu to 18.04 Bionic LTS.
And thanks to the Amazing Ubuntu Upgrading System it’s quite painless to Upgrade from Xubuntu 16.04+ to Xubuntu 18.04.
Especially relevant how this Guide Make Use of the Command Line Terminal Console to achieve the Upgrading process.

-
Open Terminal Console Window
Ctrl+Alt+t
(Press “Enter” to Execute Commands)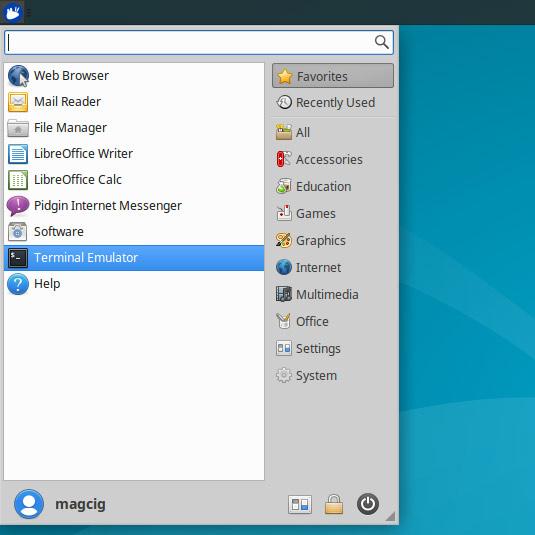
-
Upgrading to Xubuntu 18.04 Bionic
Login as SuperUser:sudo su
If Got “User is Not in Sudoers file” then see: How to Enable sudo
First, Update Apt Sources with:apt update
Then Update the Actual System:
apt dist-upgrade
And finally Make the Upgrade:
do-release-upgrade
If Got “No new releases found” and to Anticipate a New Release with the Dev one:
do-release-upgrade -d
Follow the Command Line Wizard until to Authorize with “y” for Upgrading Startup.
Then you’ll Need to Wait for some Time… Until the Upgrading Process is Successfully Achieved.reboot
Then Reboot Into your Shiny New Xubuntu 18.04 Bionic! :)
How to Quick Start with Command Line on Xubuntu