Zorin OS Canon MAXIFY Setup
Hi! The Tutorial shows you Step-by-Step How to Install Canon MAXIFY Printer in Zorin OS GNU/Linux Desktop.
And Included in the Zorin OS Canon MAXIFY Setup Guide you will find also detailed instructions to Get Started with Canon Scanning on Zorin OS.
-
Open Terminal Window
Ctrl+Alt+t
(Press “Enter” to Execute Commands)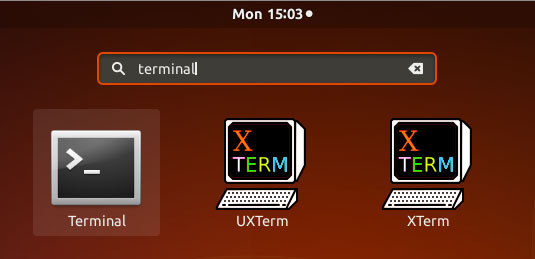
In case first see: Terminal QuickStart Guide.
-
Download Canon Printers Linux Zorin OS Drivers
Grab Linux Debian Package
Furthermore, the Driver is Valid for All Series Printer…
EG: the “iB4040” package is Valid for All “iB40X0” Printer models! -
Then Extract Driver Archive
Possibly Double-Click on it from the File Manager:
-
Installing Canon Printer Driver
Access the Target location:cd /tmp/cnijfilter*
And Run the Installation script:
sudo ./install.sh
You could be asked to Connect and Turn On the Printer…
In case of Installation Issues see this Troubleshooting!
Now in case of Issue then try first to execute:cd packages
And then for 64-bit Systems:
sudo apt install ./*amd64.deb
Instead on 32-bit:
sudo apt install ./*i386.deb
-
Then Open Zorin OS Settings:
Simply Hit Cmd/Win and Search for ‘Settings’.
-
Then Launch Settings Applet.
-
Finally, to Add Printer
First, Choose Printers:And then Add New Printer:
Follow the Wizard and the Printer should be successfully Founded and Installed…
-
How to Get Started with Canon Scanning on Zorin OS