GNU/Linux Ubuntu Jitsi Meet Repository Setup – Step-by-step Guide
Hi! The Tutorial shows you Step-by-Step How to Add Jitsi Meet Repository in Ubuntu-Based GNU/Linux OSes.
And Jitsi for Ubuntu is a Set of Open-Source Projects that allows you to easily Built and Deploy Secure Videoconferencing Solutions.
So this Setup is Valid for All the Ubuntu-based Distros like:
- Linux Mint
- Lubuntu
- Kubuntu
- Xubuntu
- Zorin OS
- Elementary OS
- Linux Lite
- Bodhi Linux
- Kde Neon
- Pop!_OS
- Voyager
- Trisquel
- LXLE
- feren OS
- Peppermint
- Q4OS
- Linux Ultimate Edition

-
1. Launching Shell Emulator
Open a Terminal window
Ctrl+Alt+t on Desktop
(Press “Enter” to Execute Commands)In case first see: Terminal QuickStart Guide.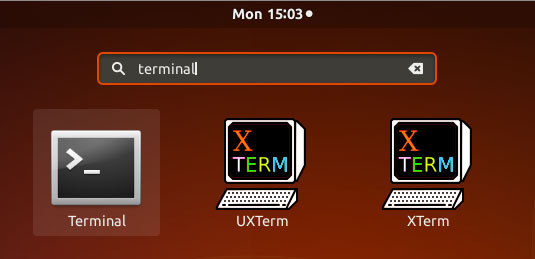
-
2. Adding jitsi Meet Key
So first Add jitsi Meet GPG Key
Execute:sudo apt-key adv --keyserver hkps://keys.openpgp.org --recv-keys B4D2D216F1FD7806
-
2. Adding jitsi Meet Repo
Then to Add jitsi Meet Repository for Ubuntu
Execute:sudo sh -c "echo 'deb https://download.jitsi.org stable/' >> /etc/apt/sources.list.d/jitsi-stable.list"
Instead, for the Nightly releases:sudo sh -c "echo 'deb https://download.jitsi.org unstable/' >> /etc/apt/sources.list.d/jitsi-unstable.list"
-
3. Refreshing Ubuntu Repo Sources
Next to Refresh Ubuntu Apt Repository Sources
Do:sudo apt update
Authenticate with the User Admin Pass.
If Got “User is Not in Sudoers file” then see: How to Enable sudo. -
4. Installing jitsi Meet on Ubuntu
Finally, to Install jitsi Meet for Ubuntu Based