Installing FileZilla on Lubuntu 18.04 Bionic
Hi! The Tutorial shows you Step-by-Step How to Install Latest FileZilla in Lubuntu 18.04 Bionic LTS GNU/Linux.
And FileZilla for Lubuntu 18.04 is a Fast and Reliable FTP, FTPS and SFTP Client with lots of useful Features and an Intuitive Graphical User Interface.
Finally, the FileZilla Features are:
- Easy to use
- Supports FTP, FTP over SSL/TLS (FTPS) and SSH File Transfer Protocol (SFTP)
- IPv6 support
- Supports resume and transfer of large files >4GB
- Tabbed user interface
- Powerful Site Manager and transfer queue
- Bookmarks
- Drag & drop support
- Configurable transfer speed limits
- Filename filters
- Directory comparison
- Network configuration wizard
- Remote file editing
- Keep-alive
- HTTP/1.1, SOCKS5 and FTP-Proxy support
- Logging to file
- Synchronized directory browsing
- Remote file search

-
1. Launching Shell Emulator
Open a Terminal window
Ctrl+Alt+t on Desktop
(Press “Enter” to Execute Commands)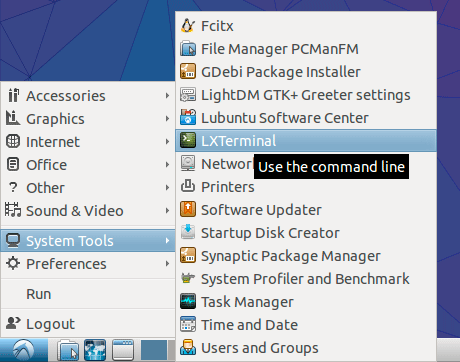
Contents