Canon i-SENSYS MF8180C Debian Set up Guide
Hi! The Tutorial shows you Step-by-Step How to Install Printer Canon i-SENSYS MF8180C Driver in Debian-Based GNU/Linux Desktops.
And the Canon i-SENSYS MF8180C Debian Setup is Quick and Easy, it involves at most some basic Shell commands execution.
Moreover, this same Setup is valid for All the Debian-based systems like:
- Kali
- MX Linux
- Deepin
- Parrot
- antiX
- SparkyLinux
- Q4OS
- Vanilla OS
- Netrunner
- Voyager Debian
- MakuluLinux
- Elive
- LMDE
- Devuan
Especially relevant: Canon recommends that when available the CQue Driver should be used as the default Product on all Linux systems.
Elsewhere choose the UFRII Driver that is the 2nd version of UFR (Ultra Fast Render) functionally similar to Postscript and PCL.
But for some LBP Printer you may need instead see the: CAPT Driver Setup on GNU/Linux Desktops.
Finally, after the Driver Installation to achieve the Setup follow the included instructions to Add Printer!
Finally, the guide includes also detailed instructions on How to Getting-Started with Canon MF8180C Scanner on Debian.

-
Open a Shell Terminal emulator window
(Press “Enter” to Execute Commands)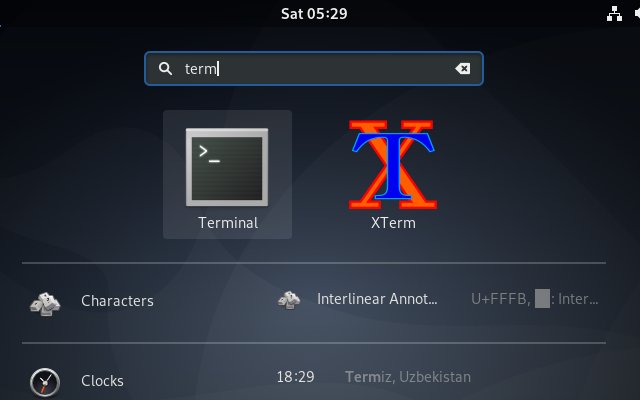
In case first see: Terminal QuickStart Guide.
Contents