Kubuntu 18.04 React Native Install – QuickStart Guide
Hi! The Tutorial shows you Step-by-Step How to Install React Native in Kubuntu 18.04 Bionic LTS GNU/Linux.
And React Native for Kubuntu 18.04 is a JavaScript Framework for writing Real, Natively rendering Mobile Apps for iOS and Android.
Especially relevant: the easiest way to Get Started is with Expo CLI.
Because Expo is a Set of Tools built around React Native and, while it has many Features, but the most relevant is the Quick Start.
Moreover, Expo CLI main Tasks are:
- Creating new projects
- Developing your app: running the project server, viewing logs, opening your app in a simulator
- Publishing your app JavaScript and other assets and managing releasing them over the air
- Building binaries (apk and ipa files) to be uploaded to the App Store and Execute Store
- Managing Apple Credentials and Google Keystores
The other possibility is to Get Started with the React Native CLI, but that require a longest workflow passing also by the Android Studio Setup.
Finally, the guide includes instructions on How to Getting-Started with React Native Easily.

-
1. Launching Shell Emulator
Open a Terminal window
(Press “Enter” to Execute Commands)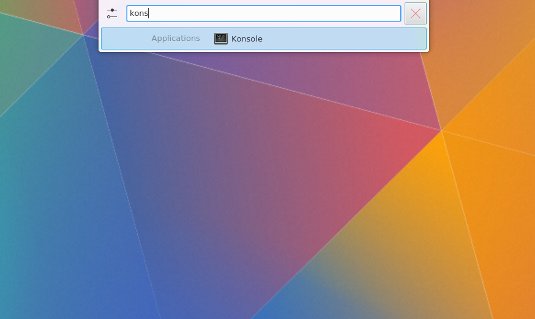
In case first see: Terminal QuickStart Guide.
Dirtectly start Typing “konsole” on Desktop.
Contents