GNU/Linux Ubuntu Adding Etcher Repo Guide
Hi! The Tutorial shows you Step-by-Step How to Add Balena Etcher Repository in Ubuntu-Based GNU/Linux OSes.
And Etcher for Ubuntu is a Free and Open-Source Utility used for Burning Image Files such as .iso and .img, as well as Zipped Folders to Create Live SD Cards and USB Flash Drives.
So this Repo Setup is Valid for All the Ubuntu-based Distros like:
- Linux Mint
- Lubuntu
- Kubuntu
- Xubuntu
- Zorin OS
- Elementary OS
- Linux Lite
- Bodhi Linux
- Kde Neon
- Pop!_OS
- Voyager
- Trisquel
- LXLE
- feren OS
- Peppermint
- Q4OS
- Linux Ultimate Edition

-
1. Launching Shell Emulator
Open a Shell Terminal emulator window
(Press “Enter” to Execute Commands)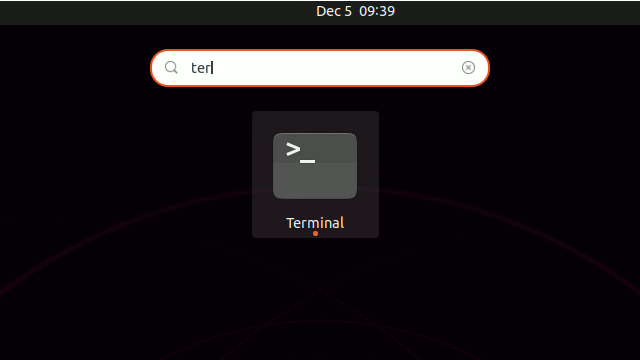
-
2. Installing cURL
Now to Install cURL for Ubuntu
Simply play:sudo apt install curl
-
3. Adding Etcher Repo
Then to Add Etcher Repository for Ubuntu
Execute:curl -1sLf 'https://dl.cloudsmith.io/public/balena/etcher/setup.deb.sh' | sudo -E bash
In case of “payement required” temporary issue, (due to bandwith issue on the Server), instead Download the Binary Installer!
Then to Setup it:sudo apt install ~/Downloads/balena-etcher*.deb
And you are Done!
-
4. Refreshing Ubuntu Sources
Next to Refresh Ubuntu Apt Repo Sources
Play:sudo apt update
Authenticate with the User Admin Pass.
If Got “User is Not in Sudoers file” then see: How to Enable sudo. -
5. Installing Etcher on Ubuntu
Finally, to Install Etcher for Ubuntu