GNU/Linux Mint 19 Install AppImageLauncher – QuickStart Guide
Hi! Discover a detailed tutorial guiding you through each step to effortlessly Download and Install AppImageLauncher on your Mint 19.x Tara/Tessa/Tina/Tricia LTS GNU/Linux Desktop.
And AppImageLauncher for Linux Mint 19 makes your Linux Desktop AppImage Ready. By installing it, you won’t ever have to worry about AppImages again.
You can always Double-Click them without making them Executable first, just like you should be able to do nowadays.
Moreover, you can Integrate AppImages with a Single Mouse Click, and then Manage them from your Apps Menu.
Especially relevant: to Run AppImages Securely, it’s strongly recommended also to follow with the Firejail Setup.
However, at the same time it Plays well with other Apps that can be used to Manage AppImages, for example App Stores.
Finally, Updating and Removing AppImages becomes as Easy as never before.
So resuming the AppImageLauncher Features:
- AppImage Desktop Integration: integrate AppImages into app menu or launcher
- Update Management: just click the entry and have the tool search and apply updates
- Remove AppImages from System: entry in context menu that triggers a removal tool
-
1. Launching Terminal
Open a Terminal window
(Press “Enter” to Execute Commands).In case first see: Terminal QuickStart Guide.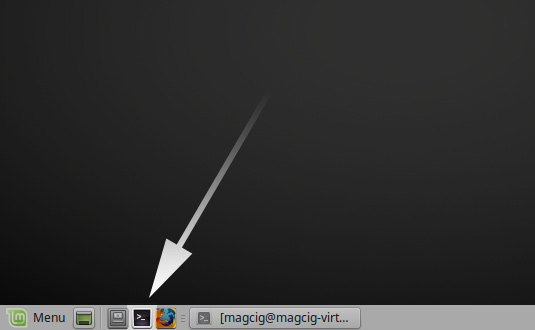
Contents