GNU/Linux Ubuntu 20.04 Installing ownCloud Client – QuickStart Guide
Hi! Looking to sync your files seamlessly? Dive into our step-by-step guide on how to Install ownCloud Client in Ubuntu 20.04 Focal LTS GNU/Linux Desktop!
And ownCloud for Ubuntu Focal grants Universal Access to your Files Via the Web, your Computer or your Mobile Devices.
So ownCloud is a Software System for what is commonly termed “File Hosting”. As such, ownCloud is very Similar to the widely-used Dropbox, with the primary Difference being that ownCloud is Free and Open-Source.
Moreover, ownCloud also provides a Platform to easily View & Sync your Contacts, Calendars and Bookmarks across All your Devices and enables Basic Editing right on the Web.
Main ownCloud Features:
- ownCloud Documents
- Access your Data
- Sync your Data
- Share your Data

1. Launching Shell Emulator
Open a Terminal window
(Press “Enter” to Execute Commands).In case first see: Terminal QuickStart Guide.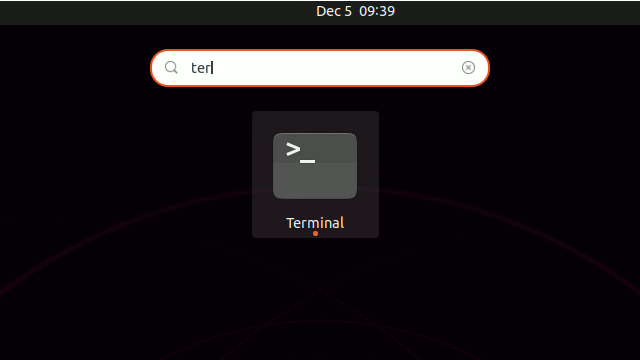
2. Adding Repository
How to Add ownCloud Client Repository in Ubuntu GNU/Linux
ownCloud Client Repo Ubuntu Installation GuideFirst, Login as SuperUser with:sudo su
Authenticate with your User Admin Pass.
If Got “User is Not in Sudoers file” then see: How to Enable sudo If Not Available then Setup it as for the Former Release.
Contents