Installing
-
2. Installing GRUB Customizer
Then to Install GRUB Customizer in MX
Simply run:sudo apt install grub-customizer
Authenticate with the User’s Admin Pass.
If Got “User is Not in Sudoers file” then see: How to Enable sudo. -
3. Running GRUB Customizer
Finally, Launch & Enjoy GRUB Customizer
From Desktop Make Use of the Launcher: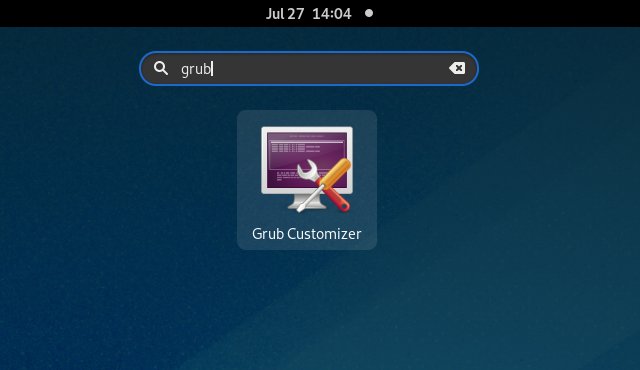
Or from Command Line with:
grub-customizer
-
4. Setting Up OSes Boot Order
Finally, to Modify MX Linux 19 Boot Entries Order
Choose the “General settings” Tab & “Default entry”: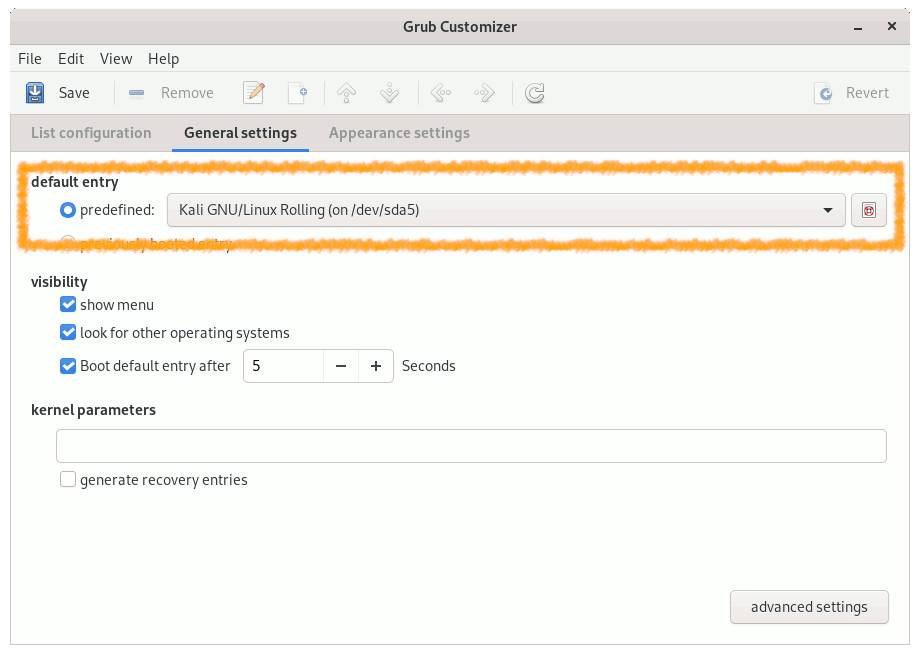
Finally Save & Exit:

Congratulations, your MX Linux 19 New GRUB Boot Order setup should be now nicely working!
Contents