GNU/Linux Manjaro Installing NoMachine – QuickStart Guide
Hi! The Tutorial shows you Step-by-Step How to Install and Getting-Started with NoMachine Free Remote Desktop Software in Manjaro GNU/Linux Desktop.
First, NoMachine for Manjaro let Mobile Staff Connect to their Office PC with Full Access to their Data and Applications, Facilitate Collaboration between Employees, Enable Fast, Effective Remote Assistance via the Desktop.
Moreover, NoMachine is a proven Hosted Desktop and Remote Access Solution that helps you Consolidate and Deliver all your Desktops and Applications.
Finally, the NoMachine main Features are:
- Travel to any desktop: Travel from your desktop to any NoMachine-enabled computer at the speed of light.
- Work with any content: Enjoy live audio and video from your remote PC.
- Meet with others where you work: Let your friends collaborate on the documents you are working on, share the files you need, help troubleshooting the problems you are experiencing. All securely and under your control.
- Use any device: your folders, drives and devices, travel across machines in a snap
- Record what you do: Make a video of what you do on-the-fly.
-
1. Launching Terminal
Open a Shell Terminal emulator window
(Press “Enter” to Execute Commands).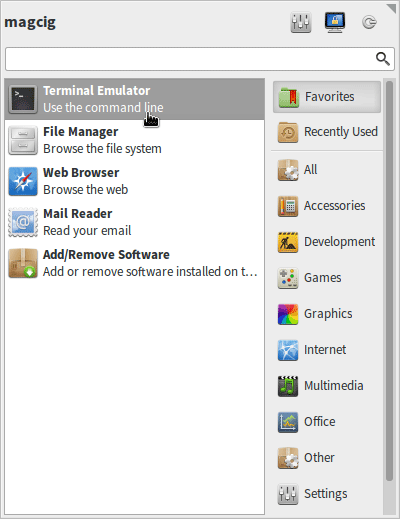
Contents