GNU/Linux Ubuntu 20.04 Installing Vagrant – QuickStart Guide
Hi! The Tutorial shows you Step-by-Step How to Install Latest Vagrant on Ubuntu 20.04 Focal LTS GNU/Linux Desktops.
And Vagrant for Ubuntu 20.04 is a Tool that Makes it Easier to Run and Manage Virtual Machines on your computer.
Especially relevant: by Default Vagrant Works only with VirtualBox VMs, to get it Working with VMware or other Hypervisor you have to Install a Paid Plugin.
Moreover, to Get Installed right the Latest Vagrant Release for Linux we Provide Directly to the Download from the Vagrant WebSite.
Finally, this Setup is valid for all the Ubuntu-based Distros like:
- Linux Mint
- Zorin OS
- Lubuntu
- Elementary OS
- Kde Neon
- Pop_OS!
- Xubuntu
- Linux Lite
- Bodhi
- Puppy
- Kubuntu
- LXLE
- Trisquel
- Voyager Ubuntu
- feren OS
- Peppermint
- Linux Ultimate Edition

The Vagrant main Features are:
- Makes a VM with an OS of your choice
- Changes the Settings of a VM (e.g., RAM, number of CPUs, etc.)
- Settles Network Interfaces to access a VM from outside
- Etablishes Shared Folders to exchange with your computer
- Defines the Hostname of a VM
- Provides Software for the VM by shell scripts or configuration management solutions
- Operates specific Tweakings on hosts and guests
- SSH into a VM from you computer
-
1. Launching Terminal
Open a Shell Terminal emulator window
Start Typing ‘term’ on Desktop.
(Press “Enter” to Execute Commands)Ctrl+Alt+t on Desktop.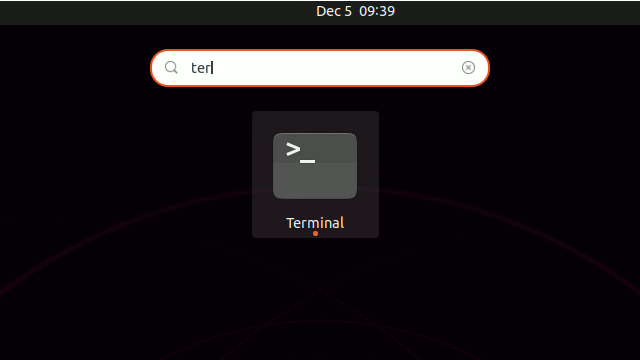
Contents