GNU/Linux Ubuntu 18.04 Installing Wi-fi Printer – QuickStart Guide
Hi! This tutorial will guide you step-by-step on How to Set up and Configure a Wireless Printer in Ubuntu 18.04 Bionic LTS GNU/Linux Desktop.
Especially relevant: to Setup Network Printer in Ubuntu 18.04 first we have to Install Printer Driver on System.
Before adding the Network Printer you have to follow instructions about how Setting up the Printer Driver.
Most Network Printers support a Protocol known as Bonjour, which is a combination of zero-configuration networking (“ZeroConf”), multicast DNS (mDNS), and DNS service discovery (DNS-SD) standards.
So the first attempt for an Universal configuration is the Zeroconf Bonjour Avahi Linux Service implementation.
Else if you are principally interested to Share a Network Printer with Windows Clients you may instead follow instructions about the Samba Printing Sharing.
Finally, to Print over Wi-fi with Apple iOS, iPhone and macOS Systems on this Printer then see How to Install AirPrint support on Ubuntu.

1. Launching Terminal
Open a Terminal Shell Emulator Window:
Ctrl+Alt+t on Desktop
(Press “Enter” to Execute Commands)In case first see: Terminal QuickStart Guide.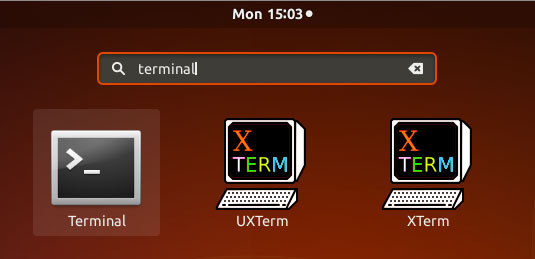
Refresh the Apt Sources:sudo apt update
Authenticate with the User Admin Pass.
If Got “User is Not in Sudoers file” then see: How to Enable sudo.-
2. Installing CUPS
And to Install CUPS in Ubuntu Linux
Simply run:sudo apt install cups cups-client cups-filters cups-ipp-utils
-
3. Running CUPS
Then to Start CUPS Service
Execute:sudo service cups start
And to Enable it at Boot:
sudo systemctl enable cups
Contents