Installing
-
2. Downloading Oracle JRE 7
Download Oracle Java SE JRE7 for Linux.
-
3. Extracting Oracle JRE 7
Then Extract into /tmp
Possibly Double-Click/Right-Click on JRE 7 Archive to Open.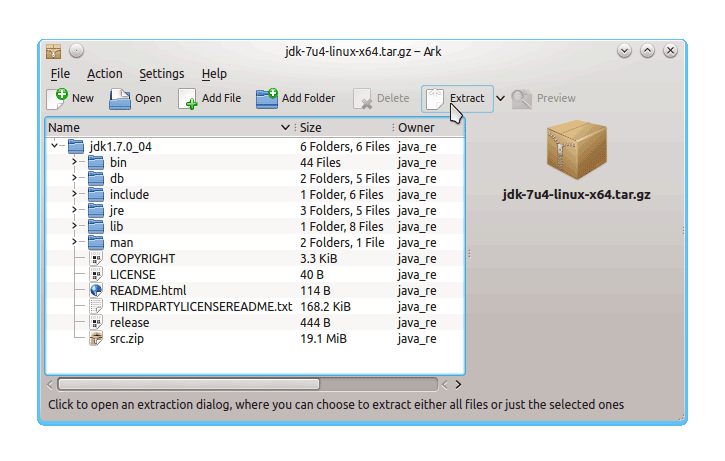
Or from the CLI run:
tar xvzf ~/Downloads/jre*.tar.gz -C /tmp
But if you are in Trouble to Find the Location on Terminal then See: How to Access Downloads Folder from Browser.
-
4. Installing Oracle JRE 7
Then Relocate Oracle Java JRE 7.
To Make a jvm Directory Only if Not already there:
(You can directly copy & paste the commands into the terminal)sudo su -c "if [ ! -d "/usr/lib/jvm" ]; then mkdir /usr/lib/jvm; fi"
Now to Set the root superUser as owner
sudo su -c "chown -R root:root /tmp/jdk1.7*"
Then to shift the Oracle JDK 7 contents
sudo su -c "mv /tmp/jdk1.7* /usr/lib/jvm/"
Finally, to Setup Oracle Java JRE 7.
sudo su -c "update-alternatives --install /usr/bin/java java /usr/lib/jvm/jre1.7*/bin/java 1065"
sudo su -c "update-alternatives --install /usr/bin/javaws javaws /usr/lib/jvm/jre1.7*/bin/javaws 1065"
Checking or Setting the System Java Version in Use
withsudo su -c "update-alternatives --config java"
And for the Java Compiler instead:
sudo su -c "update-alternatives --config javac"
To Switch of Java Version Just Enter the Selection Number on First, Column. :)
Now Thanks to Oracle-Sun Corporation you are able to Successfully Start with Java JRE 7 Use & Development.
Contents