Windows 11 Shrinking/Resizing Partition Guide
Hi! This Simple Guide shows you Visually and Step-by-step How to Shrink/Resize the Windows 11 Main Partition Volume.
This is the Safest, Easiest and Fastest Way to Resize your Partition using the Windows built-in Disk Management Tool.
And the Windows 11 Partition Shrink/Resize task is Easily and Quickly achieved with the Disk Management Tool.
Finally, this Procedure may be Necessary for a Linux OS Installation on Top of Windows 11.
But if you prefer, here’s the Alternative GParted Partitioning Setup.

1. Launching Disk Management
First, Start Disk Management Tool
So Search for “partition“: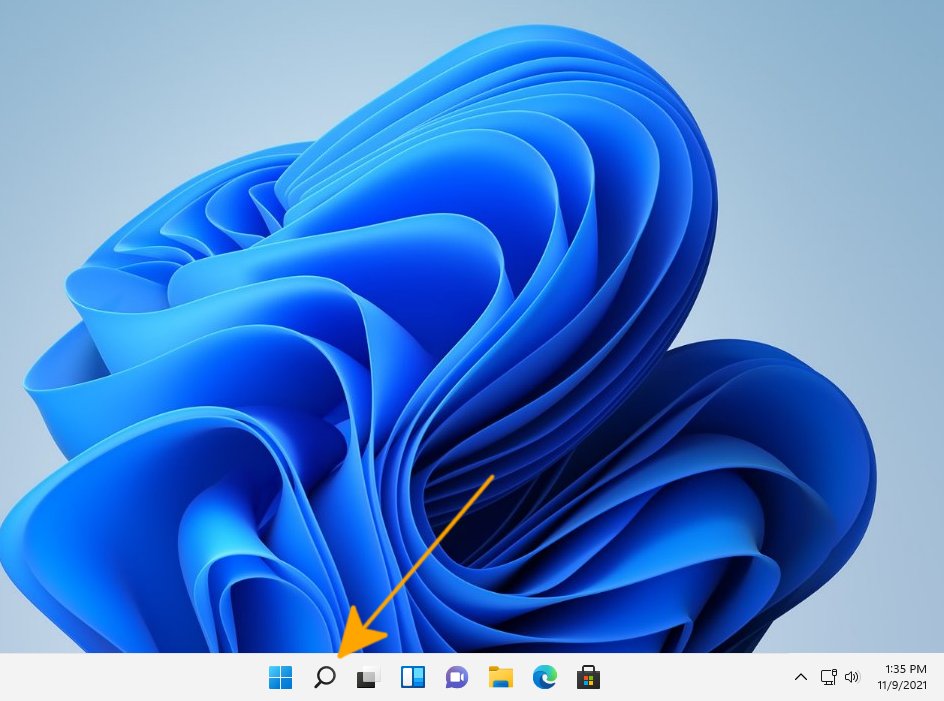 And again Choose “Create and format hard disk partitions“:
2. Shrinking Volume
Right-Click on the Partition and Select “Shrink volume“
Then Set the Free Space Size to Shrink
And Confirm to Make Changes:In few Times the Volume is Partitioned: