Installing
-
6. Installing MX OS
So after Reboot, Start MX GNU/Linux Installation
On Desktop Double-Click to Run MX Installer:
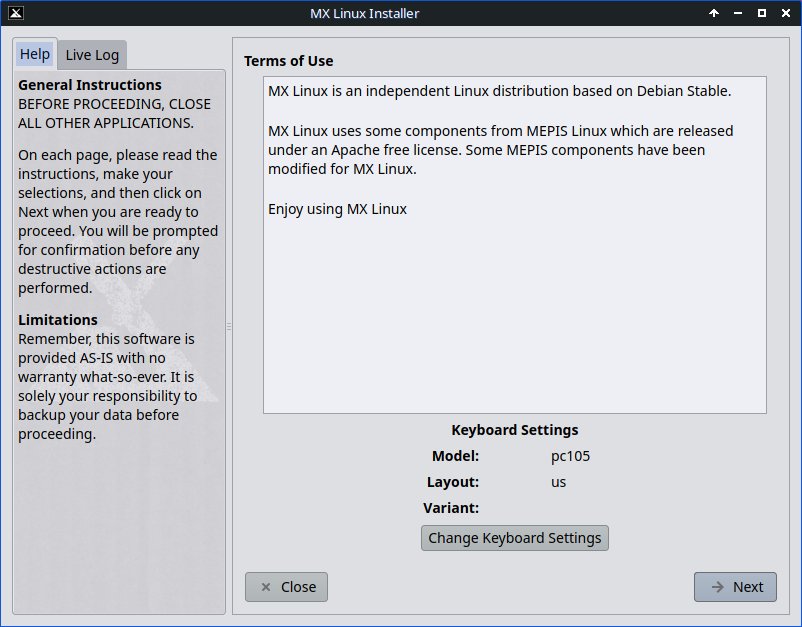
Then on the “Term of Use” page, choose your Keyboard Layout:
Confirm for to “Customize the Disk Layout:
Now Run the GParted Partition Manager:Next Select the Unlocated Space, Right-Click & New:
Leave about 2Gb Free for the Swap, and you can safelly accept the Default ext4 Format Type:
Follow making a Swap Volume within the remaining Space:
Execute the Partition Setup:
Set the main Volume Mount Point as “root” and the other as “linux-swap by the Drop-down Menu:
And last, Confirm with “Yes“:So the Installation will Start up:
On hang, you can just Confirm for the Grub Setup:
Set the “Computer Name“, for Hostname if uncertain use “localhost”:
Again Set the Default and Root Admin Accounts with a Password:
Choose the needed Localization and in case again Configure Clock:Finally, after a short wile the Installation is Successfully Achieved:
After Reboot, Log In with your Credentials:Enjoy your barelly New MX Linux Wildflower Desktop Experience:
And Happy MX! ;)
-
7. MX Getting-Started Guide
Getting-Started with MX GNU/Linux
Contents