Installing
-
4. Choosing Installation Type
Choose Graphical Install
(This Setup make use of the Kali Complete Installer, but you can achieve the same Result also with the NetInstaller)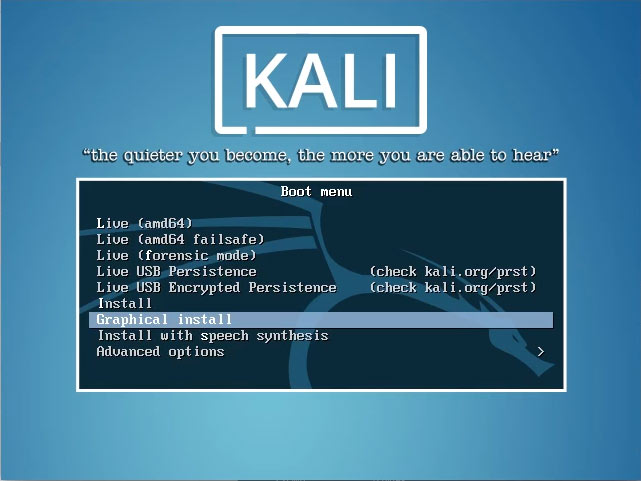
-
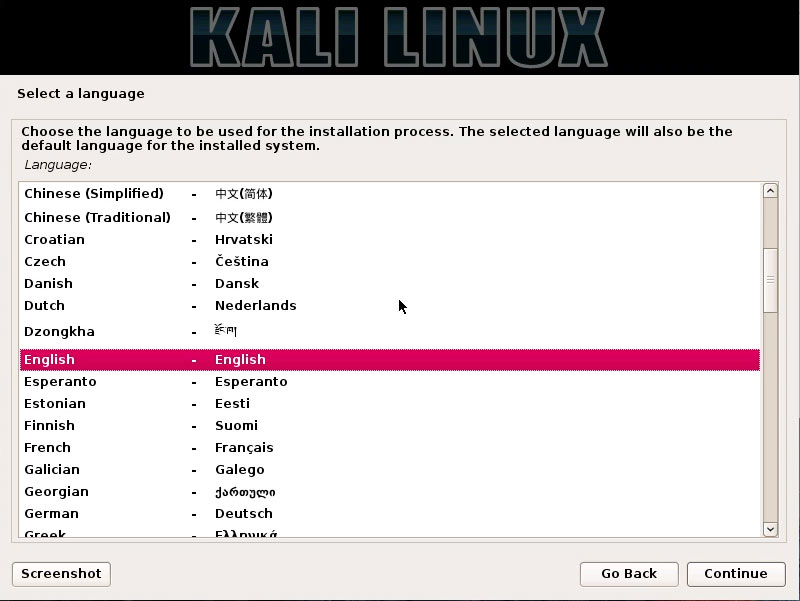
5. Choosing Language
Select the Language.
-
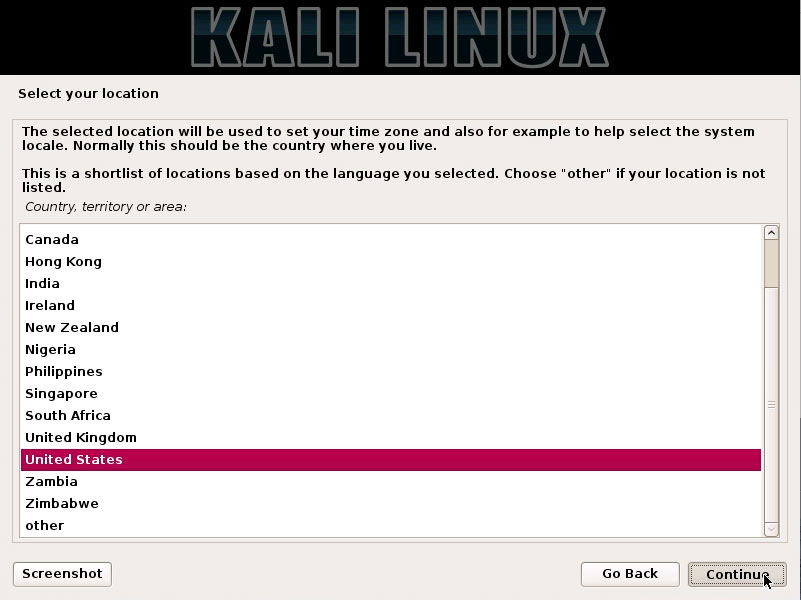
6. Choosing Location
Select your Location.
-
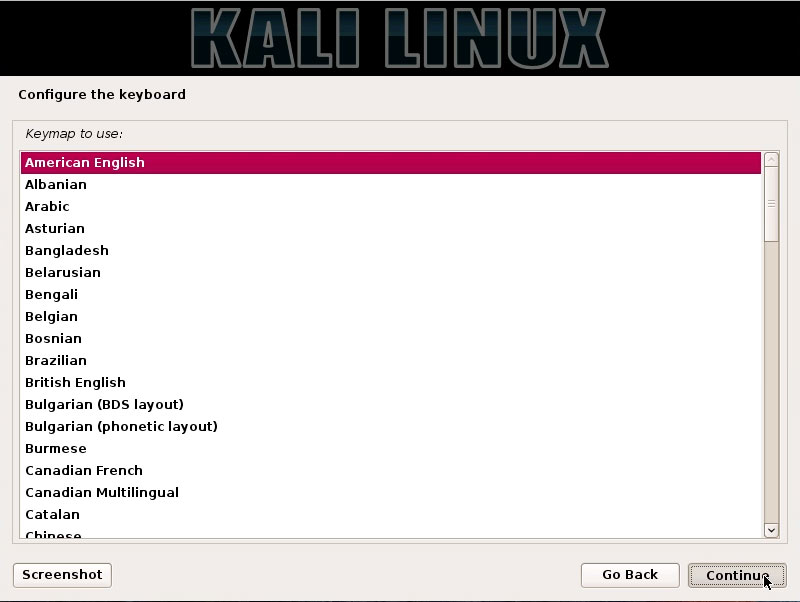
7. Choosing Keyboard Layout
Configure the Keyboard.
-
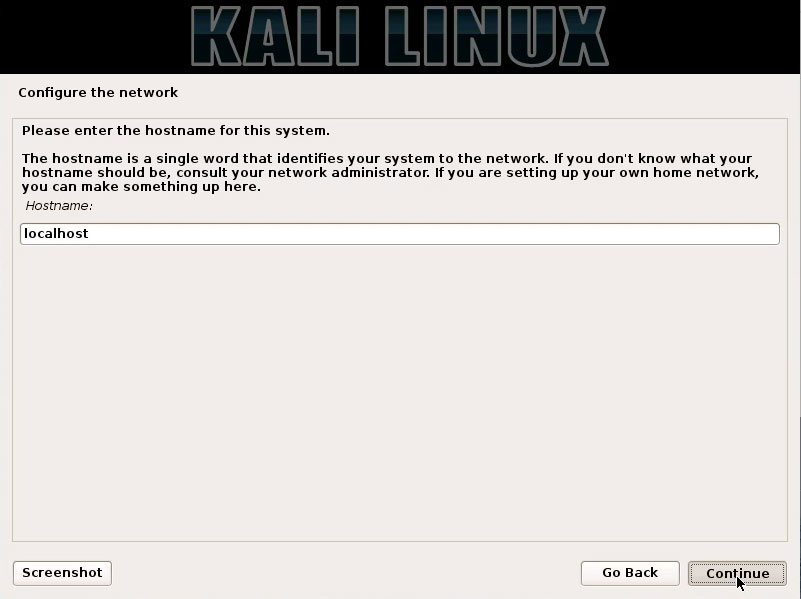
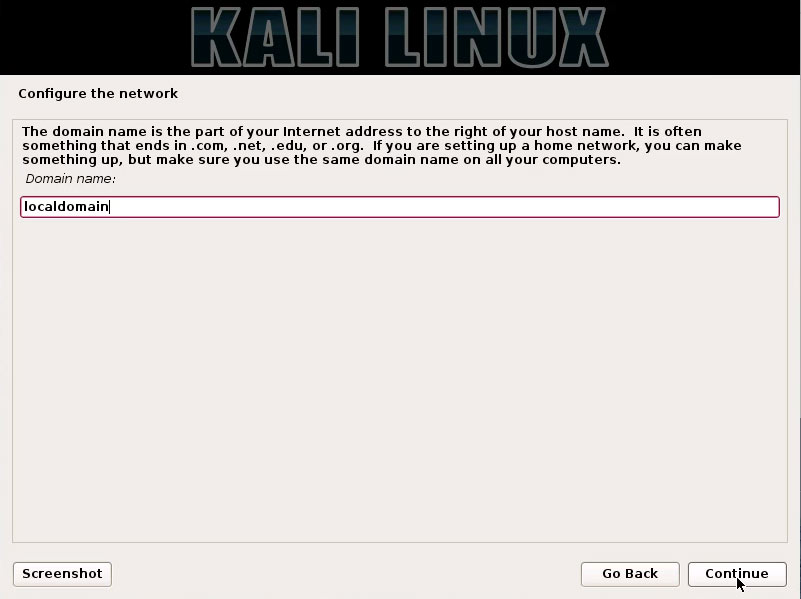
8. Setting up Network
Set Up the Network.
‘localhost’ is a Good choice here.
If not a server with assigned Domain then put simply ‘localdomain’.
-
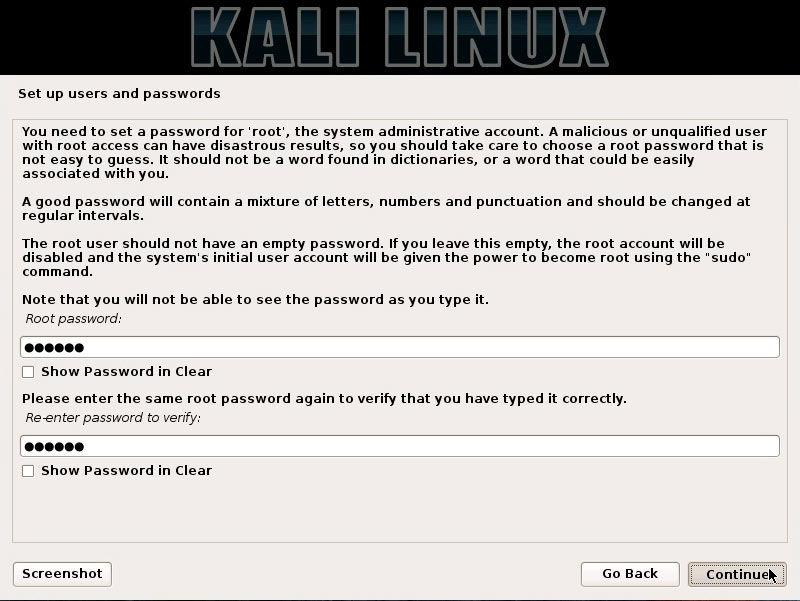
9. Setting up Root Pass
Set Up the Root User Password.
-
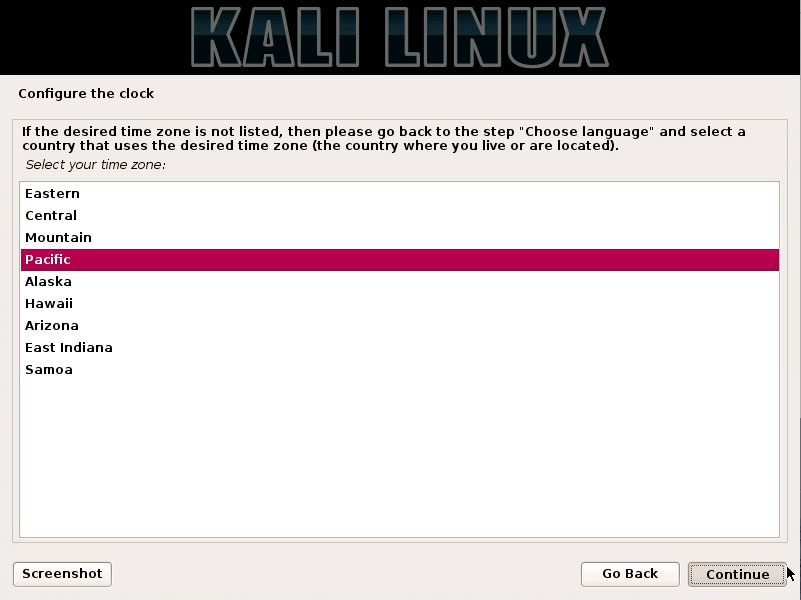
10. Configuring Local Time
Configure the Local Time.
-
11. Partitioning
Choose the Manual Partitioning
Below Instructions on How to Properly Partitioning…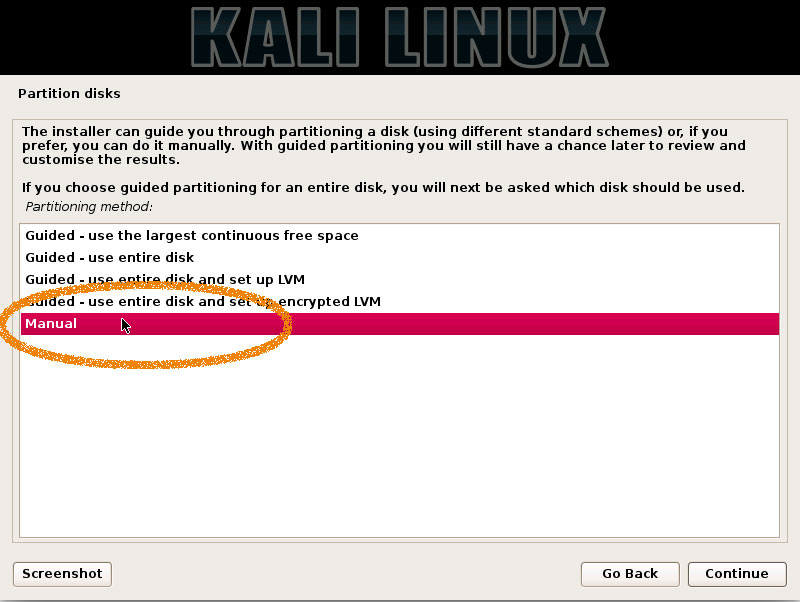
How to Manual Partitionig During Kali Installation
-
12. Configuring Apt
Configure the Package Manager
So Choose ‘Yes’.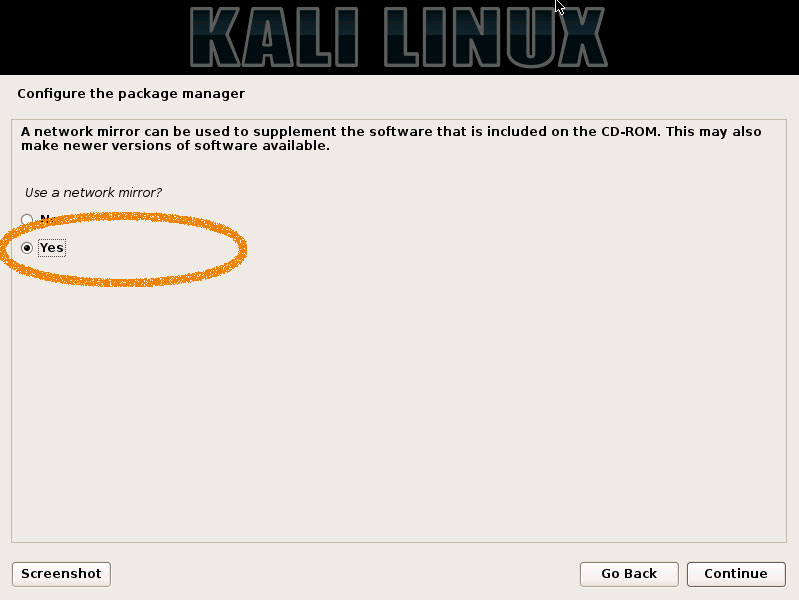
-
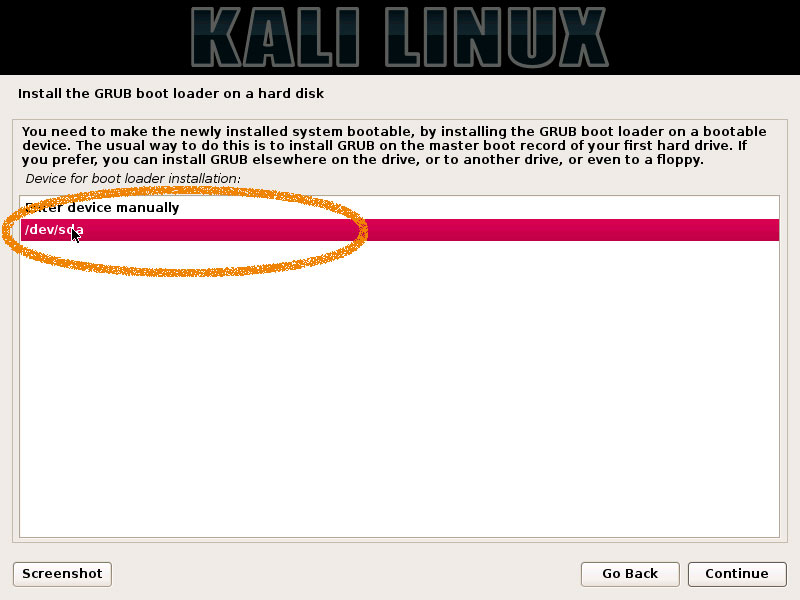
13. Setting up GRUB Bootloader
Confirm to Install the GRUB Bootloader.
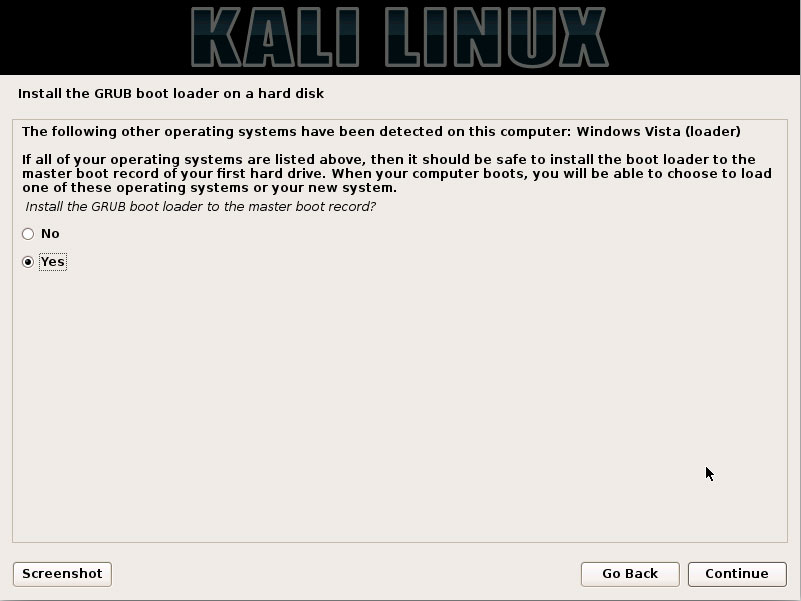
Select the GRUB Target Drive.
-
14. Installing Kali Linux
Next Wait for Kali System Installation.

And then Reboot System!
-
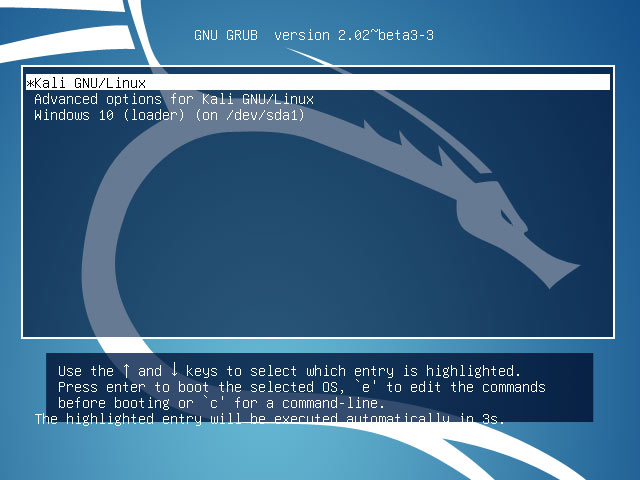
15. Starting up Kali Linux
And on Grub Splash Choose Kali.
-
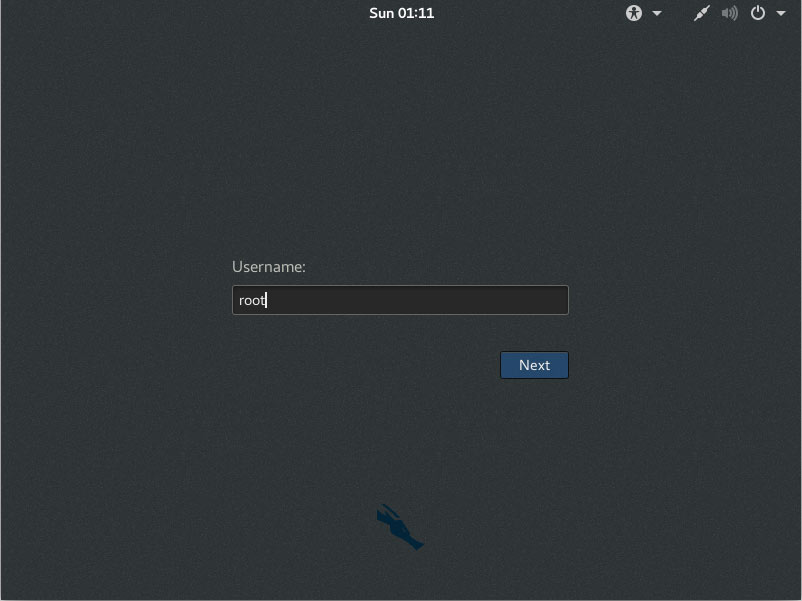
16. Loggin into Kali Linux desktop
Login as the root User.
-
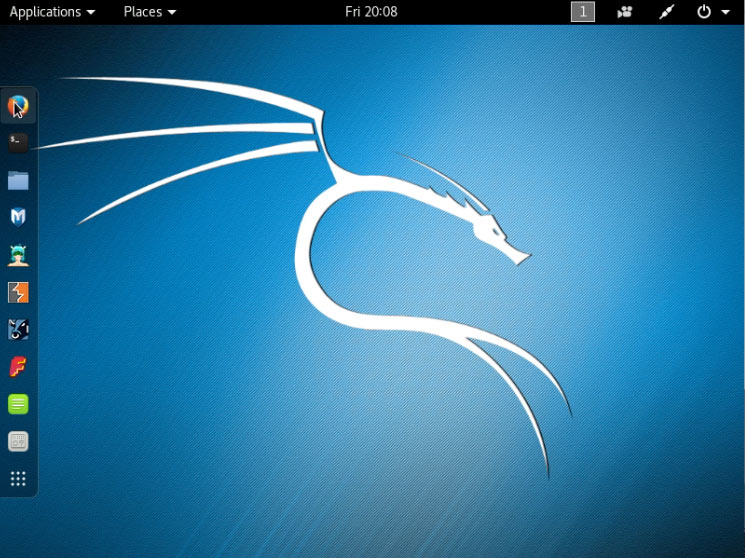
17. Getting Started
Finally, Learn and Enjoy Kali Linux! ;)
Getting Started with Kali GNU/Linux
Contents