Installing
-
6. Installing Debian Bullseye on Top of Windows 11
Then Boot from Debian Installation Media
Start by choosing “Graphical install“:
Then select the Language:
(To confirm choices use Space-Bar, Enter or your Mouse)

Again select the Location:

Configure the Keyboard:

Now the system start automatically to load the Installer Components and to configure the Network Hardware:


So then follow to Configure the Network setting the “Hostname“, as default choice for a desktop put “localhost”:

And in case, next also the “Domain Name”:

Choose the “root” Admin User Password:

Now set the User Full Name:

Again the “username“:

And the User Password:

Configure the Clock:

Follow with the Disk Partitioning.
So if you Partitioned Windows 11 Disk leaving a Free Space Volume, now choose “Guided – use the largest continuous free space“:
(Else you should see -> the Manual Partitioning Guide)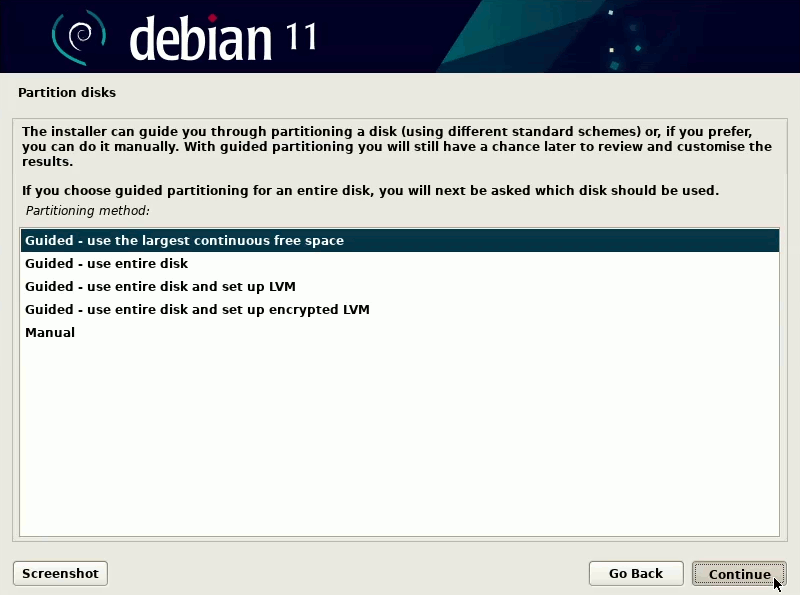
Again as Partition Scheme you can make your Choice: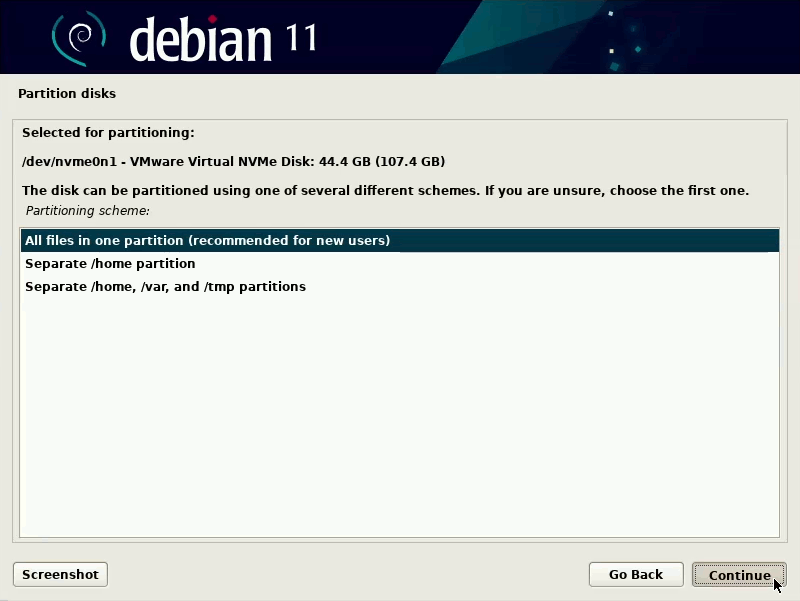
Last, confirm to “Finish partitioning and write changes to disk”: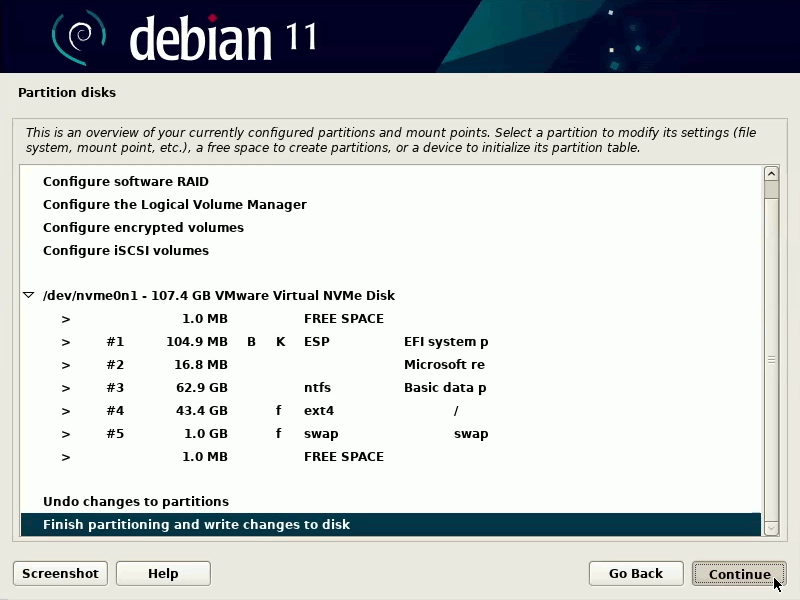
Finish choosing “Yes”: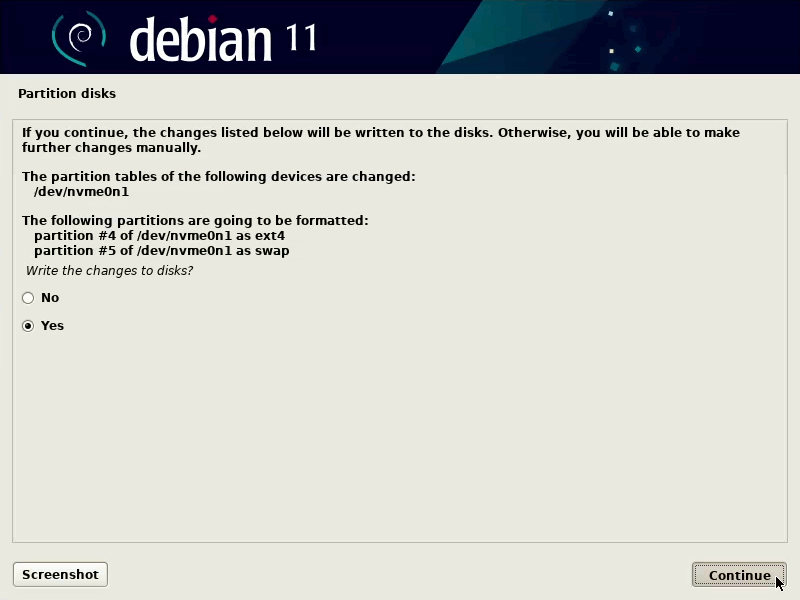
Then start automatically the base system setup:

After start the Package Manager Configuration.
Usually you “No” need to load extra Media:

Next follow to configure the Apt Package Manager.
So confirm to use a Network Mirror with “Yes“:

Then choose the Debian archive Mirror Country:

Again the Archive Mirror, when uncertain take the Default:

And possibly also the Proxy Url (Not needed):

Then start automatically the first software installation procedure:

Choose if partecipating to the Software popularity contest:

Next you can choose the additional Software and the Desktop to setup on System:

In this guide I make use of the Default GNOME Environment.
Now you may wait a little longer during the Software Installation:

Now confirm to install the GRUB Boot Loader:

And next ordinarily choose the “/dev/sda” as Target:

Finally, the Installation should be successfully achieved:

Congrats, you should be able to Restart into Debian 11 GNU/Linux! :)
Contents