GNU/Linux Ubuntu Canon MG5700 Printer Setup – QuickStart Guide
Hi! The Tutorial shows you Step-by-Step How to Install Canon PIXMA MG5700 Printer/Scanner in Ubuntu-based GNU/Linux Desktops.
And the Canon PIXMA MG5700 Driver Ubuntu Driver Setup It’s quick and easy because it only involves running a few Basic Shell Commands.
Especially relevant: after the Driver Installation to achieve the Printer Setup follow guidance to Add Printer!
Moreover, included in this Tutorial you find also instructions to QuickStart with Canon Scanning on Ubuntu.
The Canon PIXMA MG5700 Series Printer includes the following Models: MG5710, MG5720, MG5721, MG5722, MG5740, MG5750, MG5751, MG5752, MG5753, MG5760, MG5765, MG5766, MG5770, MG5780, MG5790, and MG5795.
Finally, this Setup is valid for all the Ubuntu-based Distros like:
- Linux Mint
- Zorin OS
- Lubuntu
- Elementary OS
- Kde Neon
- Pop_OS!
- Xubuntu
- Linux Lite
- Bodhi
- Puppy
- Kubuntu
- LXLE
- Trisquel
- Voyager Ubuntu
- feren OS
- Peppermint
- Linux Ultimate Edition (You may just need to Discover what’s the Parent Release)
1. Launching Terminal
Open a Terminal Shell Emulator Window:
(Press “Enter” to Execute Commands)In case first see: Terminal QuickStart Guide.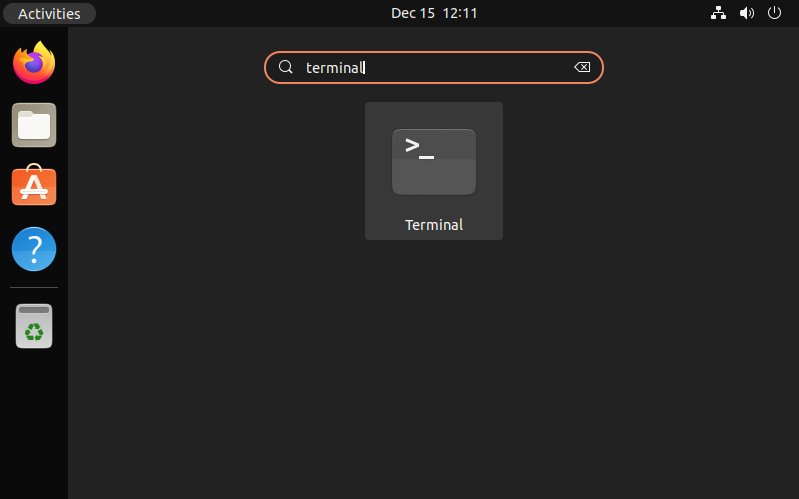
2. Installing Dependencies
Then Install Required Packages With:
sudo apt update
sudo apt-get install cups libxml2 libglade2-0 libpng1* libtiff*
3. Downloading Driver
Download Canon MG5700 Printer Linux Driver
Select the MG5700 Printer .deb Driver.
Contents
