GNU/Linux Mint 20 Installing GCC 12.2 from Source – QuickStart Guide
Hi! The Tutorial shows you Step-by-step How to Install GNU Compiler Collection 12.2.x from Source in GNU/Linux Mint 20.x Ulyana/Ulyssa/Uma/Una LTS Desktop.
And the GCC 12.2 for Linux Mint 20 is a Compilers Collection currently supporting C, C++, Objective-C, Objective-C++, Fortran, Ada, D, Go, and BRIG (HSAIL) Languages.
Finally, GCC 12.2 includes several New Features, Changes, and Fixes that you can consult on the GNU GCC Documentation.

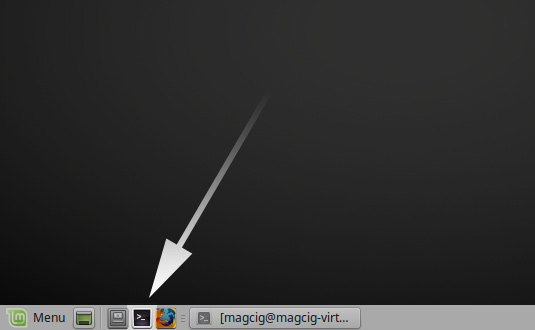
1. Launching Terminal
Open a Shell Session
(Press “Enter” to Execute Commands)And Update Mint Apt Repository:
sudo apt update
Authenticate with the User Admin Pass.
If Got “User is Not in Sudoers file” then see: How to Enable sudo.2. Querying System GCC
First, find out what the actual System GCC
Play:which gcc
Take Note of the PATH to use after installation for switching the System GCC.
Possibly to Check the current GCC version issue:gcc -v
3. Downloading GCC 12.2
Download GCC 12.2 Source Code for GNU/Linux
Navigate to the 12.2.x Folder to Grab the Package.4. Extracting GCC 12.2
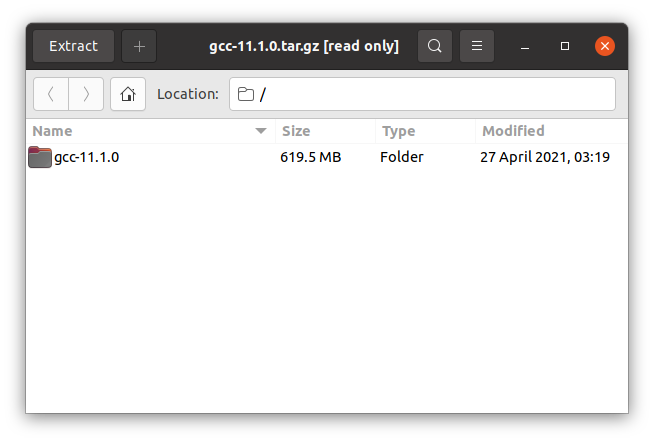
Then to Extract GCC 12.2 Archive
If it does Not Open automatically then Double-Click/Right-Click to Open with Archive Manager: Or from Command Line:
tar xvzf ~/Downloads/gcc-12.*.tar.gz
(But if you are in Trouble to Find the Location on Terminal then See: How to Access Downloads Folder from Browser.)
Finally, if you are in Trouble to Find Out it on Terminal See: How to Access Downloads Folder from Browser.
Contents
