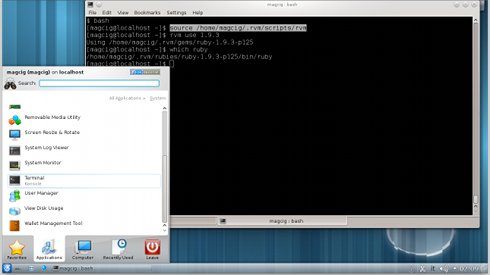
This Guide shows you Step-by-Step How to Installing and Using the R.V.M. Ruby Version Manager System on a Unix FreeBSD 9 System.
All Steps are Clearly Described you Need only to Take the Time to Reading, Understanding and Executing Carefully the Instructions Contained here.
On the Bottom you will Find also a Link to a Troubleshooting Section.
This Installation has been Performed on a FreeBSD 9 KDE 4 Desktop but the Same Instructions Remain Valid also for a FreeBSD 9 Server…

-
Open a Terminal Window
(Press “Enter” to Execute Commands) -
Login as SuperUser
su
If Got “User is Not in Sudoers file” then see: How to Enable sudo
-
Provide to Install the Prerequisites Packagesgit, wget, autoconf and automake
-
Installing git
pkg_add -v -r git
-
Installing wget
pkg_add -v -r wget
-
Installing autoconf
cd /usr/ports/devel/autoconf
-
Installing automake
cd /usr/ports/devel/autoconf
-
-
Switch to Simple User
su <username>
-
Access the Target Directory
cd ~
-
Switch to the Bash Shell
bash
-
Install the R.V.M.
- Download the Installer
wget --no-check-certificate https://raw.github.com/wayneeseguin/rvm/master/binscripts/rvm-installer
- Give to the Installer the Right Permissions
chmod +x rvm-installer
- Install the Ruby Versions Manager
./rvm-installer --version latest
- Download the Installer
-
Before First, Use you Need to Load rvm Environment on Shell
source ~/.rvm/scripts/rvm
-
Getting-Started with RVM.
How to Install and Manage Multiple Rubies