Install the Latest MySQL 5.7+ on Xubuntu 14.04 Trusty 32/64-bit
The Tutorial shows you How to Get Always Freshly Installed the Latest MySQL 5.7.X on Xubuntu 14.04 Trusty Tahr LTS i386/amd64 Linux.
Sometimes you should Easily getting installed the Latest MySQL Version Simply by the Apt Ubuntu Repos but that’s Not Ever True.
So to Get Constantly Installed the Latest MySQL Server/Client Release on Xubuntu you will Need to Download from Oracle the Latest MySQL Community Edition Debian Package.
An Important Step to Take into Account After Installation is to Secure the MySQL Server Installation by the Proper Tool.
-
Download Latest MySQL Server for Ubuntu
Latest MySQL .deb 32/64-bit
-
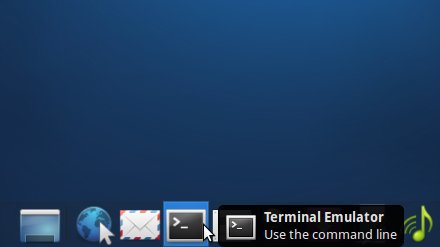
Open Terminal Window
(Press “Enter” to Execute Commands)
In case first see: Terminal QuickStart Guide.
-
Installing MySQL .deb.
gdebi /[path/2]/mysql*debian*.deb
-
Post-Installation Configuration.
groupadd mysql
useradd -r -g mysql mysql
chown -R mysql:mysql /opt/mysql
/opt/mysql/server*/scripts/mysql_install_db --user=mysql
chown -R root /opt/mysql
chown -R mysql /opt/mysql/server*/data
-
Setting the User PATH.
su [myUser]
cd
nano .bashrc
Append:
export PATH=$PATH:/opt/mysql/server-[Version]/bin
Ctrl+X to Save & Exit from nano :)
Load New PATH:
bash
-
Strongly Recommended MySQL Server Secure SetUp
MySQL Secure Server SetUp
-
Starting the MySQL Server.
sudo su -c "mysqld_safe --user=mysql &"

