Git Client Quick Start for Linux Mint 17.2 Rafaela
Hi! The Tutorial shows you Step-by-Step How to Install and Getting-Started with SmartGit Client on Linux Mint 17.2 Rafaela LTS i386/amd64 Mate/Cinnamon/Kde/Xfce GNU/Linux Desktop.
And SmartGit is a Git and Mercurial Graphical Client which can also connect to SVN Repositories.
Git is a Distributed VCS that allows you to make Frequent, Local Commits to Checkpoint your Work while you’re still Perfecting the Code

-
Open a Shell Terminal emulator window
Ctrl+Alt+t on desktop
(Press “Enter” to Execute Commands)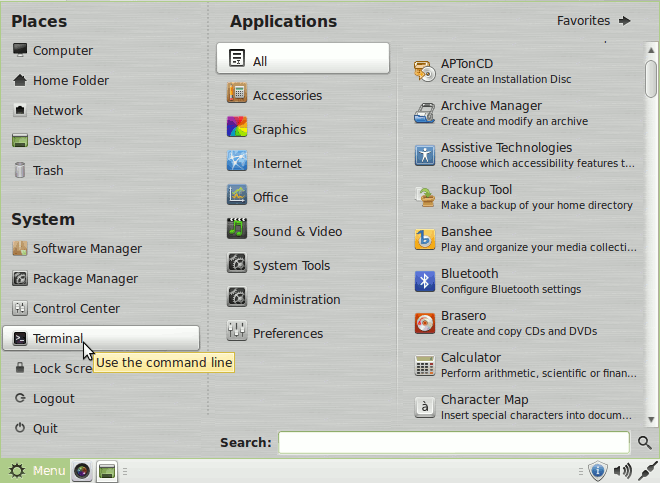
In case first see: Terminal QuickStart Guide.
-
Download SmartGit Client Linux Mint Package
-
Check/Install GDebi Package Installer.
which gdebi
If not there then:
sudo apt install gdebi-core gdebi
If Got “User is Not in Sudoers file” then see: How to Enable sudo
-
Installing SmartGit Client on Linux Mint.
sudo su -c "gdebi $HOME/Downloads/smartgit*.deb"
-
Getting-Started with SmartGit Client on Linux Mint